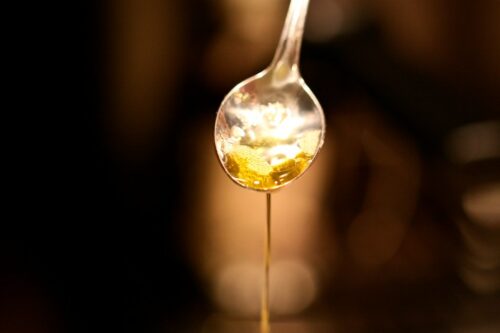
There was a time when the thought of ghee triggered sensory images of tarty fat being hand churned in buckets made of wood (Bilona). The fresh, sticky goodness was sure to be smeared over the morning paratha before it was stored away in a glass jar to be enjoyed for months to come.
While this clarified butter still lends a rich depth to a plethora of dishes, a progression in culture means that its production isn’t the same anymore. With tedious work schedules and the tempting availability of mass-produced goods, homemade ghee is becoming a rarer luxury by the day.

But during a team conversation, Manabi Katoch, editor at The Better India (Hindi) shared with us how she is one of the few who still finds the time to make the liquid gold herself.
So for those of you who wish to make homemade pure clarified butter for the best benefits as well, we distilled the process down to six simple steps with her tips:
- Boil about two litres of milk and separate the cream that forms on its top in a container. Do this for five to six days until the container is full. Manabi tells us that it’s important to keep the container in the freezer during this time so as to avoid fungus growth.
- Bring the cream to room temperature and add about two tablespoons of curd to it. Let it set overnight.
- Transfer this mixture into a blender, add about two glasses of cold water (until the blender is full) and churn. “The water needs to be cold for the fat to separate from the cream. This can be ensured by adding ice cubes as well,” she says.
- Separate the fat (which we call butter) from the buttermilk that is left behind in the blender. Make sure the milk is cleansed out completely. You may wash the butter in a bowl of water for this.
- Heat the clean butter on medium flame until it starts to boil. According to Manabi, it takes about 15 minutes for the butter to melt into ghee, during which one must keep stirring the pan frequently.
- “You will notice granules of milk solids beginning to float in the oil. Once this separation is complete, cool the liquid for a minute or two and sieve it into a fresh container for use,” Manabi says.
Edited by Yoshita Rao
No comments:
Post a Comment