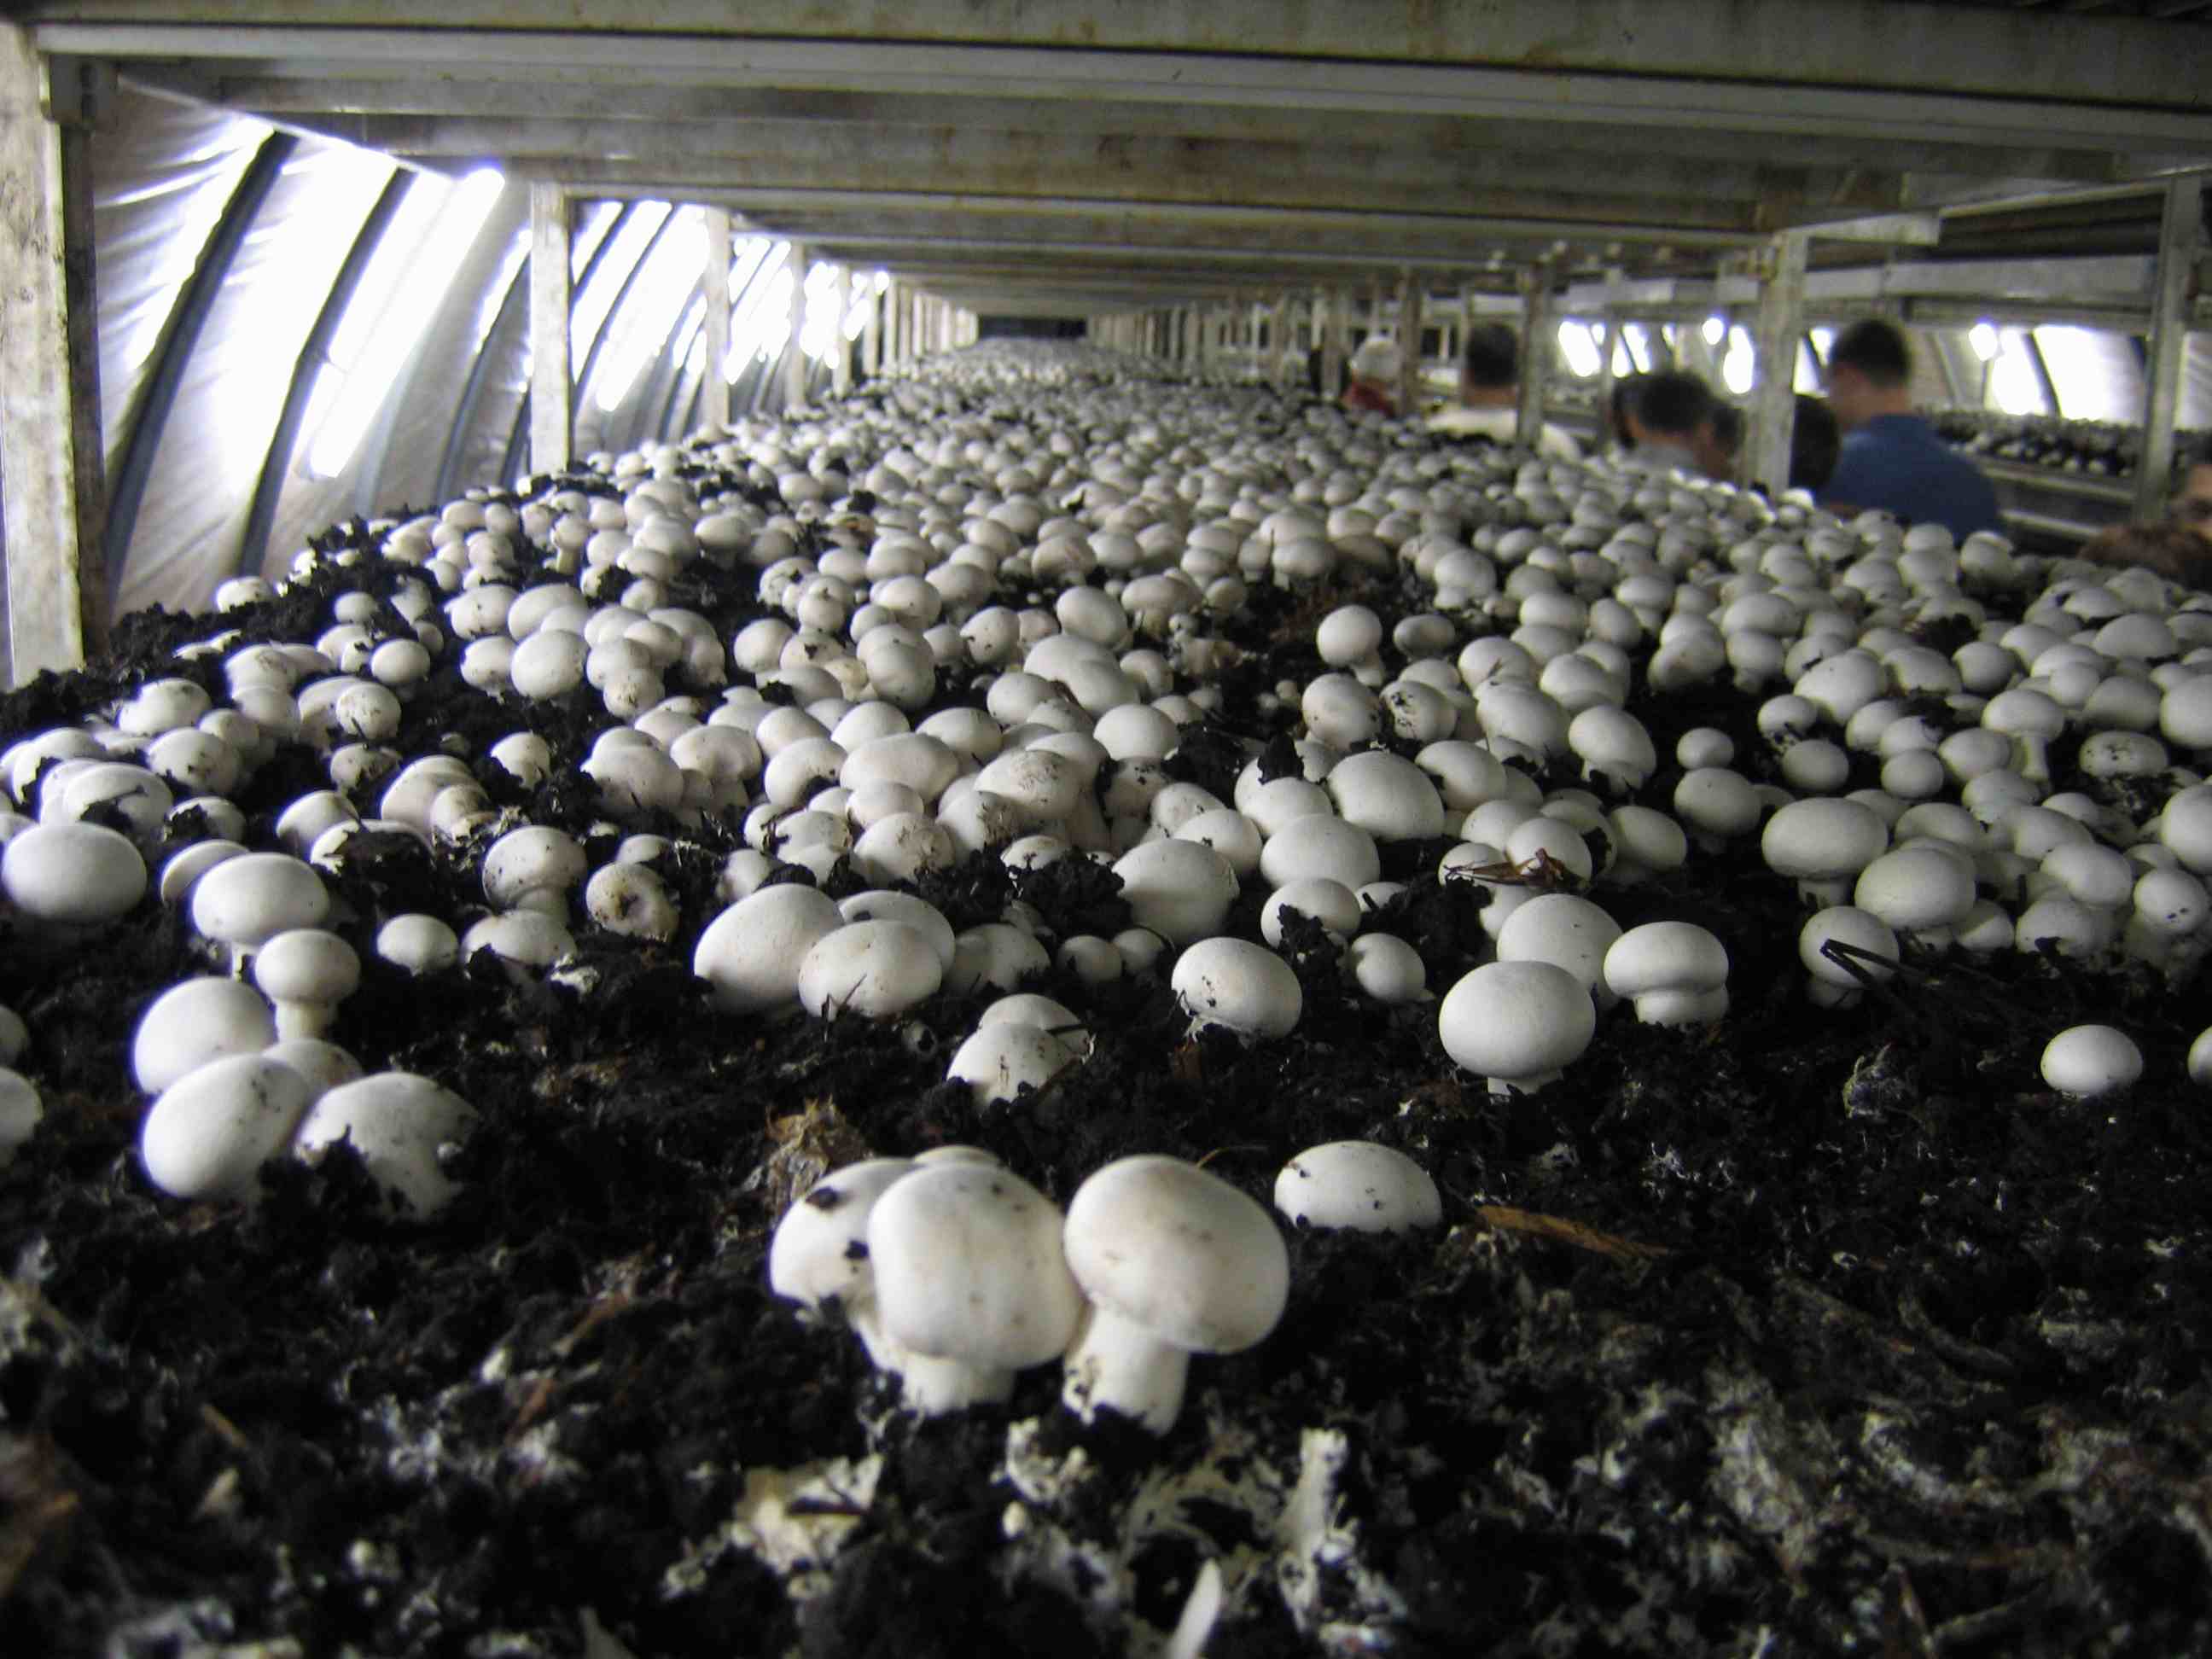
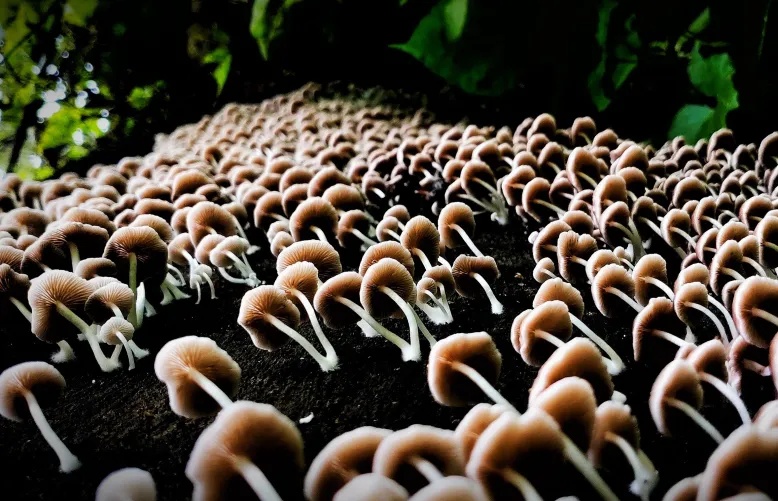
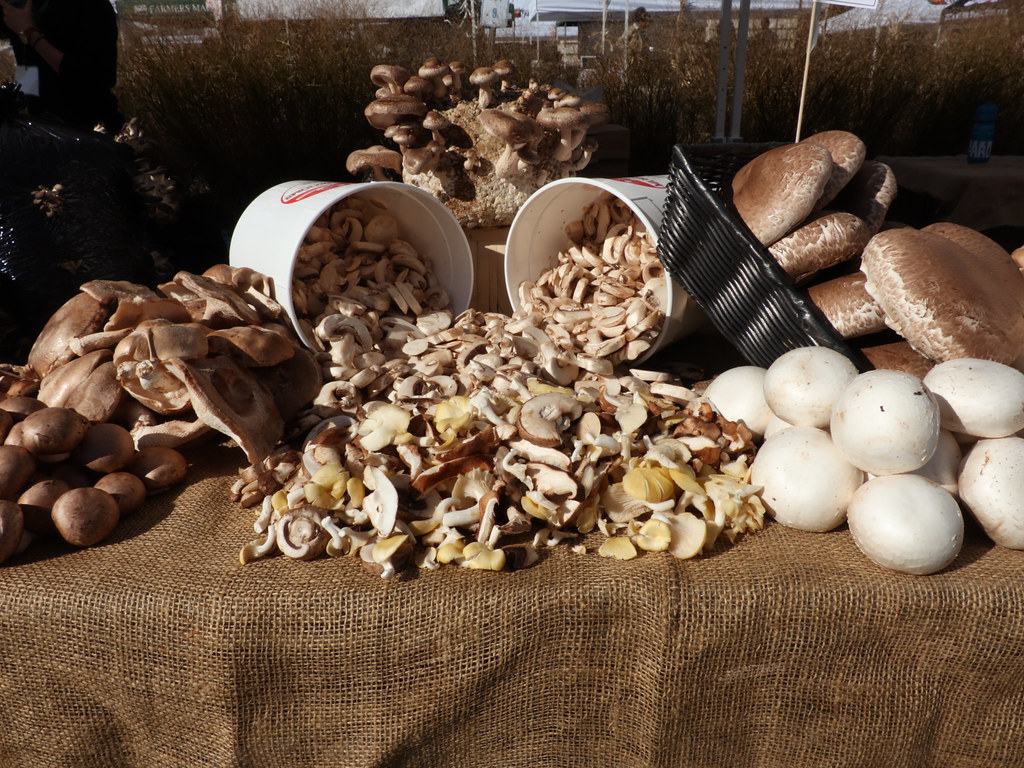
Mushroom farming is rapidly gaining popularity in India, both as a profitable business and a rewarding hobby. With their rich nutritional profile and culinary versatility, mushrooms have become a staple in many households.
But did you know that growing mushrooms doesn’t require acres of farmland or hefty investments? You can start your mushroom farm right from the comfort of your home!

India primarily cultivates three types of mushrooms: button mushrooms, oyster mushrooms, and milky mushrooms. Button mushrooms thrive in cooler climates, while oyster and milky mushrooms flourish in warmer conditions, making it easy to choose the variety best suited to your local weather. People have given cultivating shiitake mushrooms a try as well!
Setting up a small-scale mushroom farm is surprisingly simple and involves just six key steps:
1. Choosing your mushroom variety
Begin by selecting a mushroom type that aligns with your regional climate and personal preferences. Button mushrooms are ideal for cooler areas, while oyster mushrooms are more resilient and beginner-friendly.
2. Composting
Composting is the foundation of successful mushroom farming and must be done meticulously. This process is carried out in the open on flat trays with proper drainage to prevent liquid accumulation. To protect the compost from rain, ensure a covered or sheltered area.
Compost can be either natural or synthetic. Synthetic compost involves a mix of wheat straw, bran, urea, gypsum, and calcium ammonium nitrate or ammonium sulphate. These materials are blended well, soaked using a sprinkling method, and piled up.
Natural compost, suitable for organic farming, combines wheat straw and gypsum with fresh horse dung and poultry manure. Begin by sprinkling water on the straw, mixing thoroughly, and allowing fermentation. Regularly turn the pile, keeping it moist. The smell of ammonia indicates active decomposition.
Once ready, the compost is evenly filled into trays to a thickness of 15–18 cm, ensuring it remains moist. Properly prepared compost sets the stage for healthy mushroom growth.
3. Spawning

Spawning involves sowing the mushroom mycelium into the prepared compost. This can be done by either sprinkling the mycelium over the compost or thoroughly mixing it with the compost before filling the trays. Once sown, cover the compost with newspapers to retain moisture and sprinkle water regularly to keep it damp.
4. Casing Soil
Casing soil is applied as a protective layer over the compost. It is prepared by mixing soil with cow dung, thoroughly filtering, and sterilising it to remove any harmful microbes. Spread the casing soil evenly over the compost and maintain a high temperature of around 27°C for 72 hours to encourage growth.
5. Cropping
After about 15 days, the mushroom caps or buttons will become visible and firm on their stems, indicating that the mushrooms are ready for harvesting.
6. Harvesting
To harvest, gently press the soil and twist the caps slowly to loosen them. Carefully remove the caps, leaving the base of the stem in the tray for further cycles.

Mushroom farming is not just about growing food; it’s about sustainability, creativity, and a potential source of income. Whether you’re looking to save on groceries, explore a new hobby, or launch a small business, starting a mushroom farm could be your next big step!
So why wait? Grab a spore, and let the magic of mushrooms take root in your home.
Edited by Arunava Banerjee
No comments:
Post a Comment