
Summer vacation is close; how do you plan to keep your child engaged? Here is a fun way to teach them gardening and keep them busy. Considering that gardening with your kids is a wonderful way to spend quality time together while teaching them about sustainability, summer is the ideal season to grow vegetables. The good news here is you don’t need to buy seeds, you can grow these four vegetables from kitchen scraps.
Here is a step-by-step instruction guide and ideas on how children can get involved in the process.
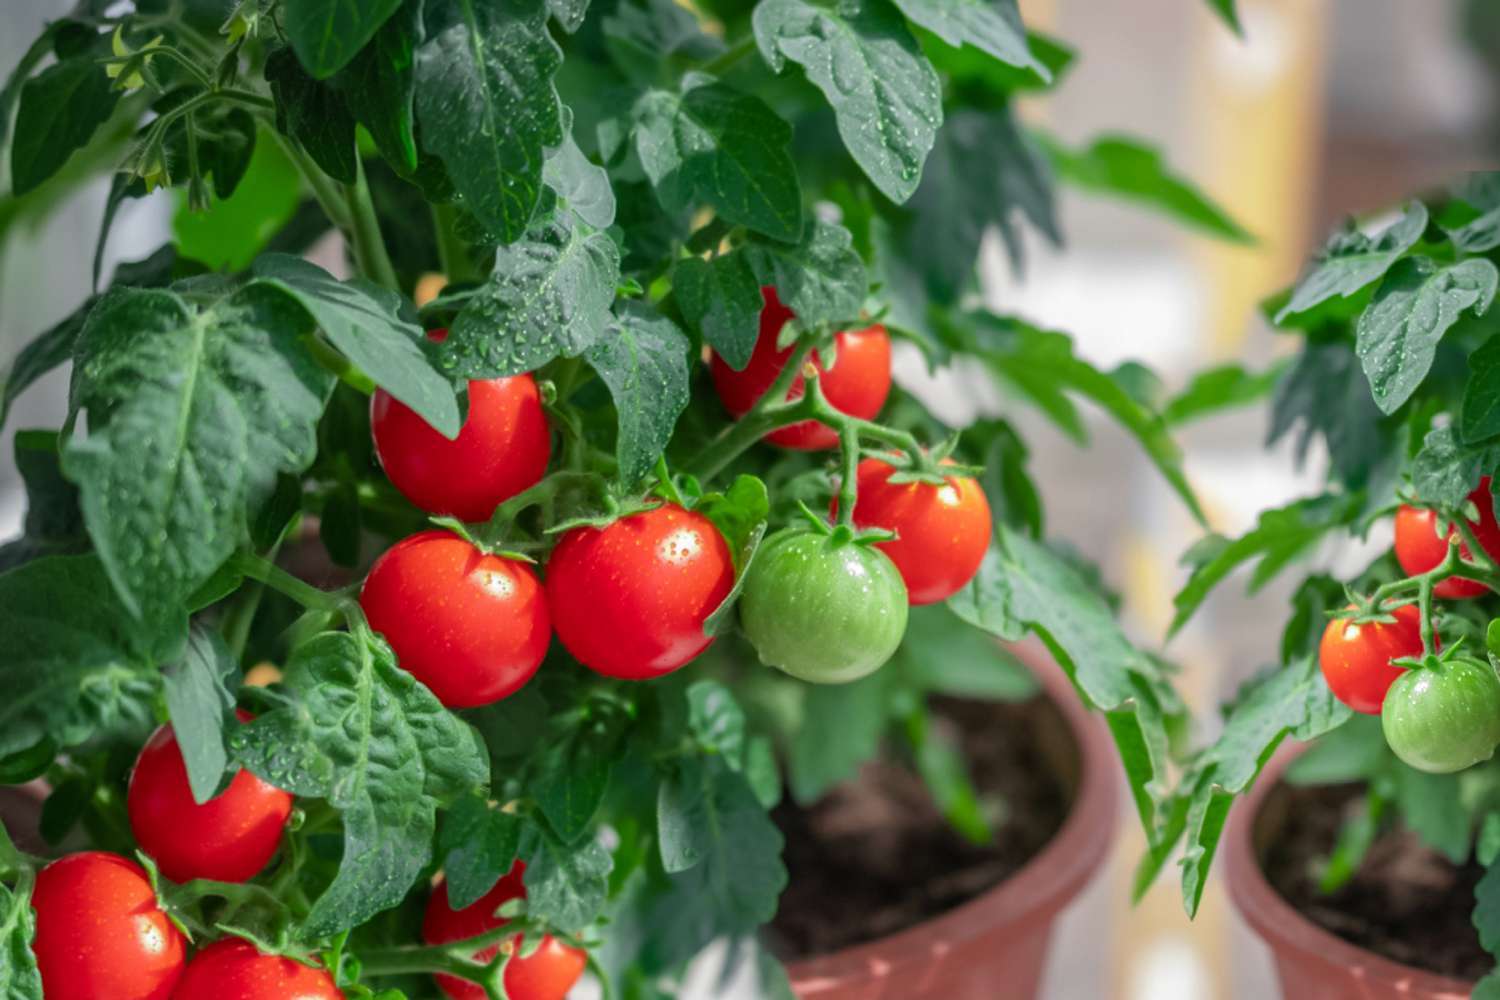
1. Tomatoes
Why you should grow them
Tomatoes are one of the most rewarding vegetables to grow, and they survive in the warmth of summer. Apart from tasting delicious, they are packed with vitamins and antioxidants. Growing tomatoes from scraps can lead to curiosity in children about how plants produce food.
Step-by-step process
Step 1: Take a ripe tomato and scoop out the seeds. Let them dry for a few days on a piece of paper towel.
Step 2: Get a shallow container and fill it with soil. Let your kids help with this by using a small trowel or their hands to place the soil in the container.
Step 3: Once the seeds are dry, plant them about one centimetre deep into the soil. Encourage your kids to space them out so each plant has room to grow.
Step 4: Place the container in a sunny spot, as tomatoes love sun. Water them regularly, but be sure the soil doesn’t get soggy.
Step 5: After a few weeks, you will see small sprouts. Kids can help by gently watering the plants and watching them grow. When the tomatoes start to ripen, get your children involved in the harvesting process.
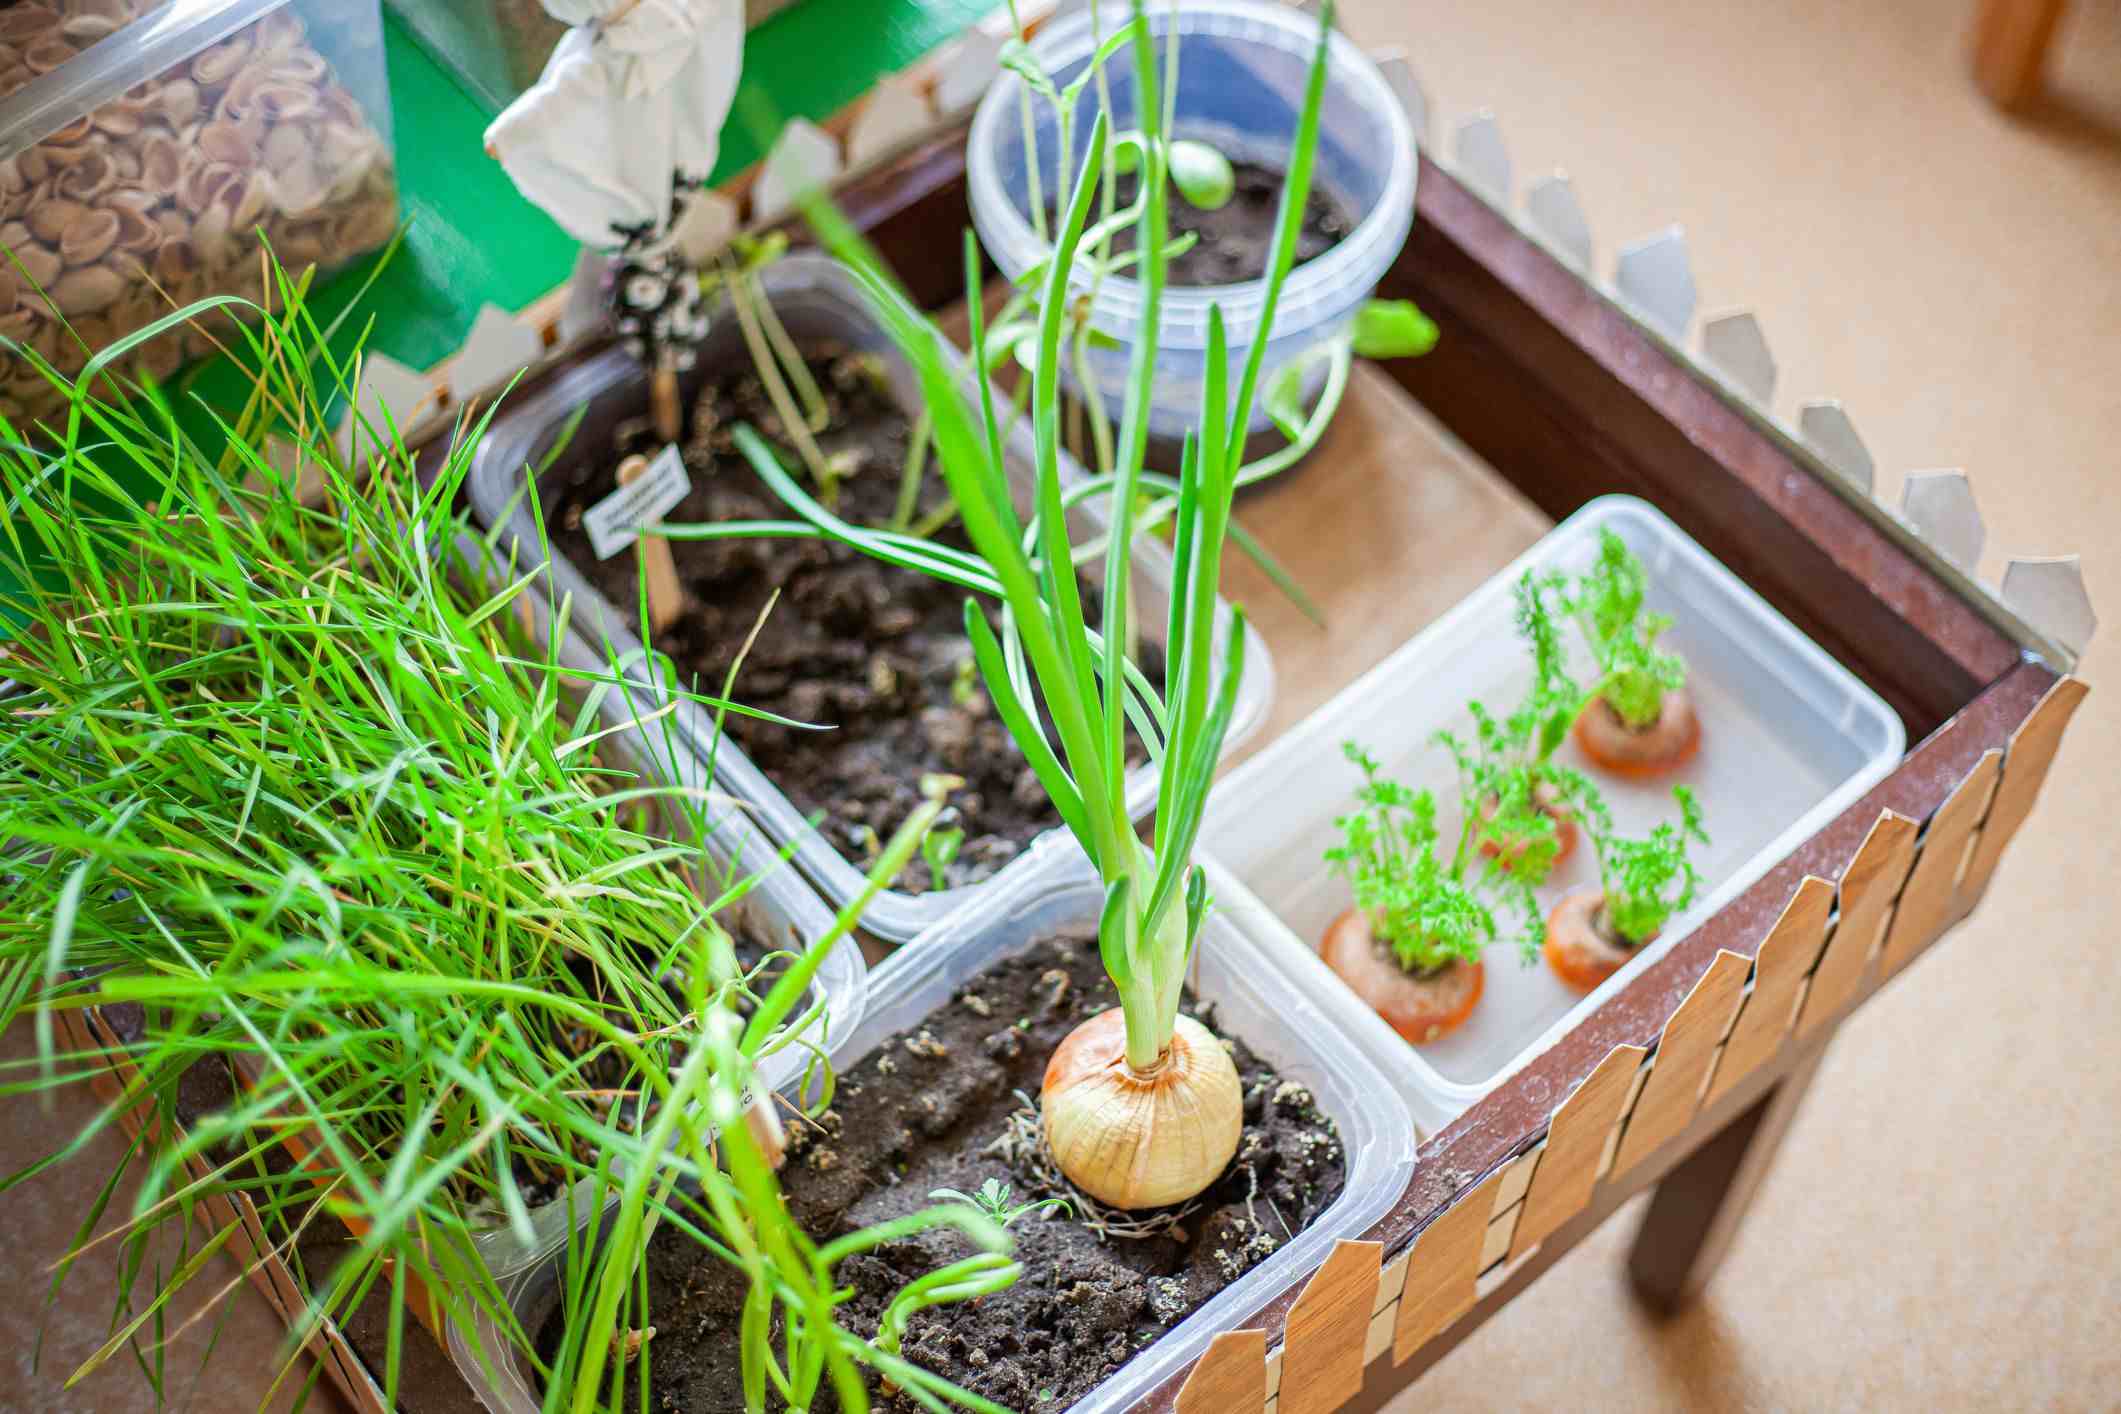
2. Onions
Why you should grow them
Onions are versatile, easy to grow, and perfect for the warm summer weather. Growing onions at home saves money and helps reduce food waste, as you can regrow them from kitchen scraps. It is also a constructive way to introduce kids to the concept of reuse and recycle.
Step-by-step process
Step 1: Take the root end of an onion (the part you usually throw away) and place it in a shallow dish with water. Make sure only the root end is submerged.
Step 2: Place the dish in a sunny spot, like a windowsill. Kids will enjoy watching the roots begin to grow and the green shoots start to appear.
Step 3: Change the water every two days to keep it fresh. Within a week, the green shoots will be ready for planting.
Step 4: Once the shoots are a few inches tall, transfer the onion to a pot with soil or directly into the garden. Let your kids help with the planting and watering process.
Step 5: After around eight to 10 weeks, the onions will be ready to harvest. Your kids can help dig them out of the soil, feeling the excitement of watching their onions grow from scraps.
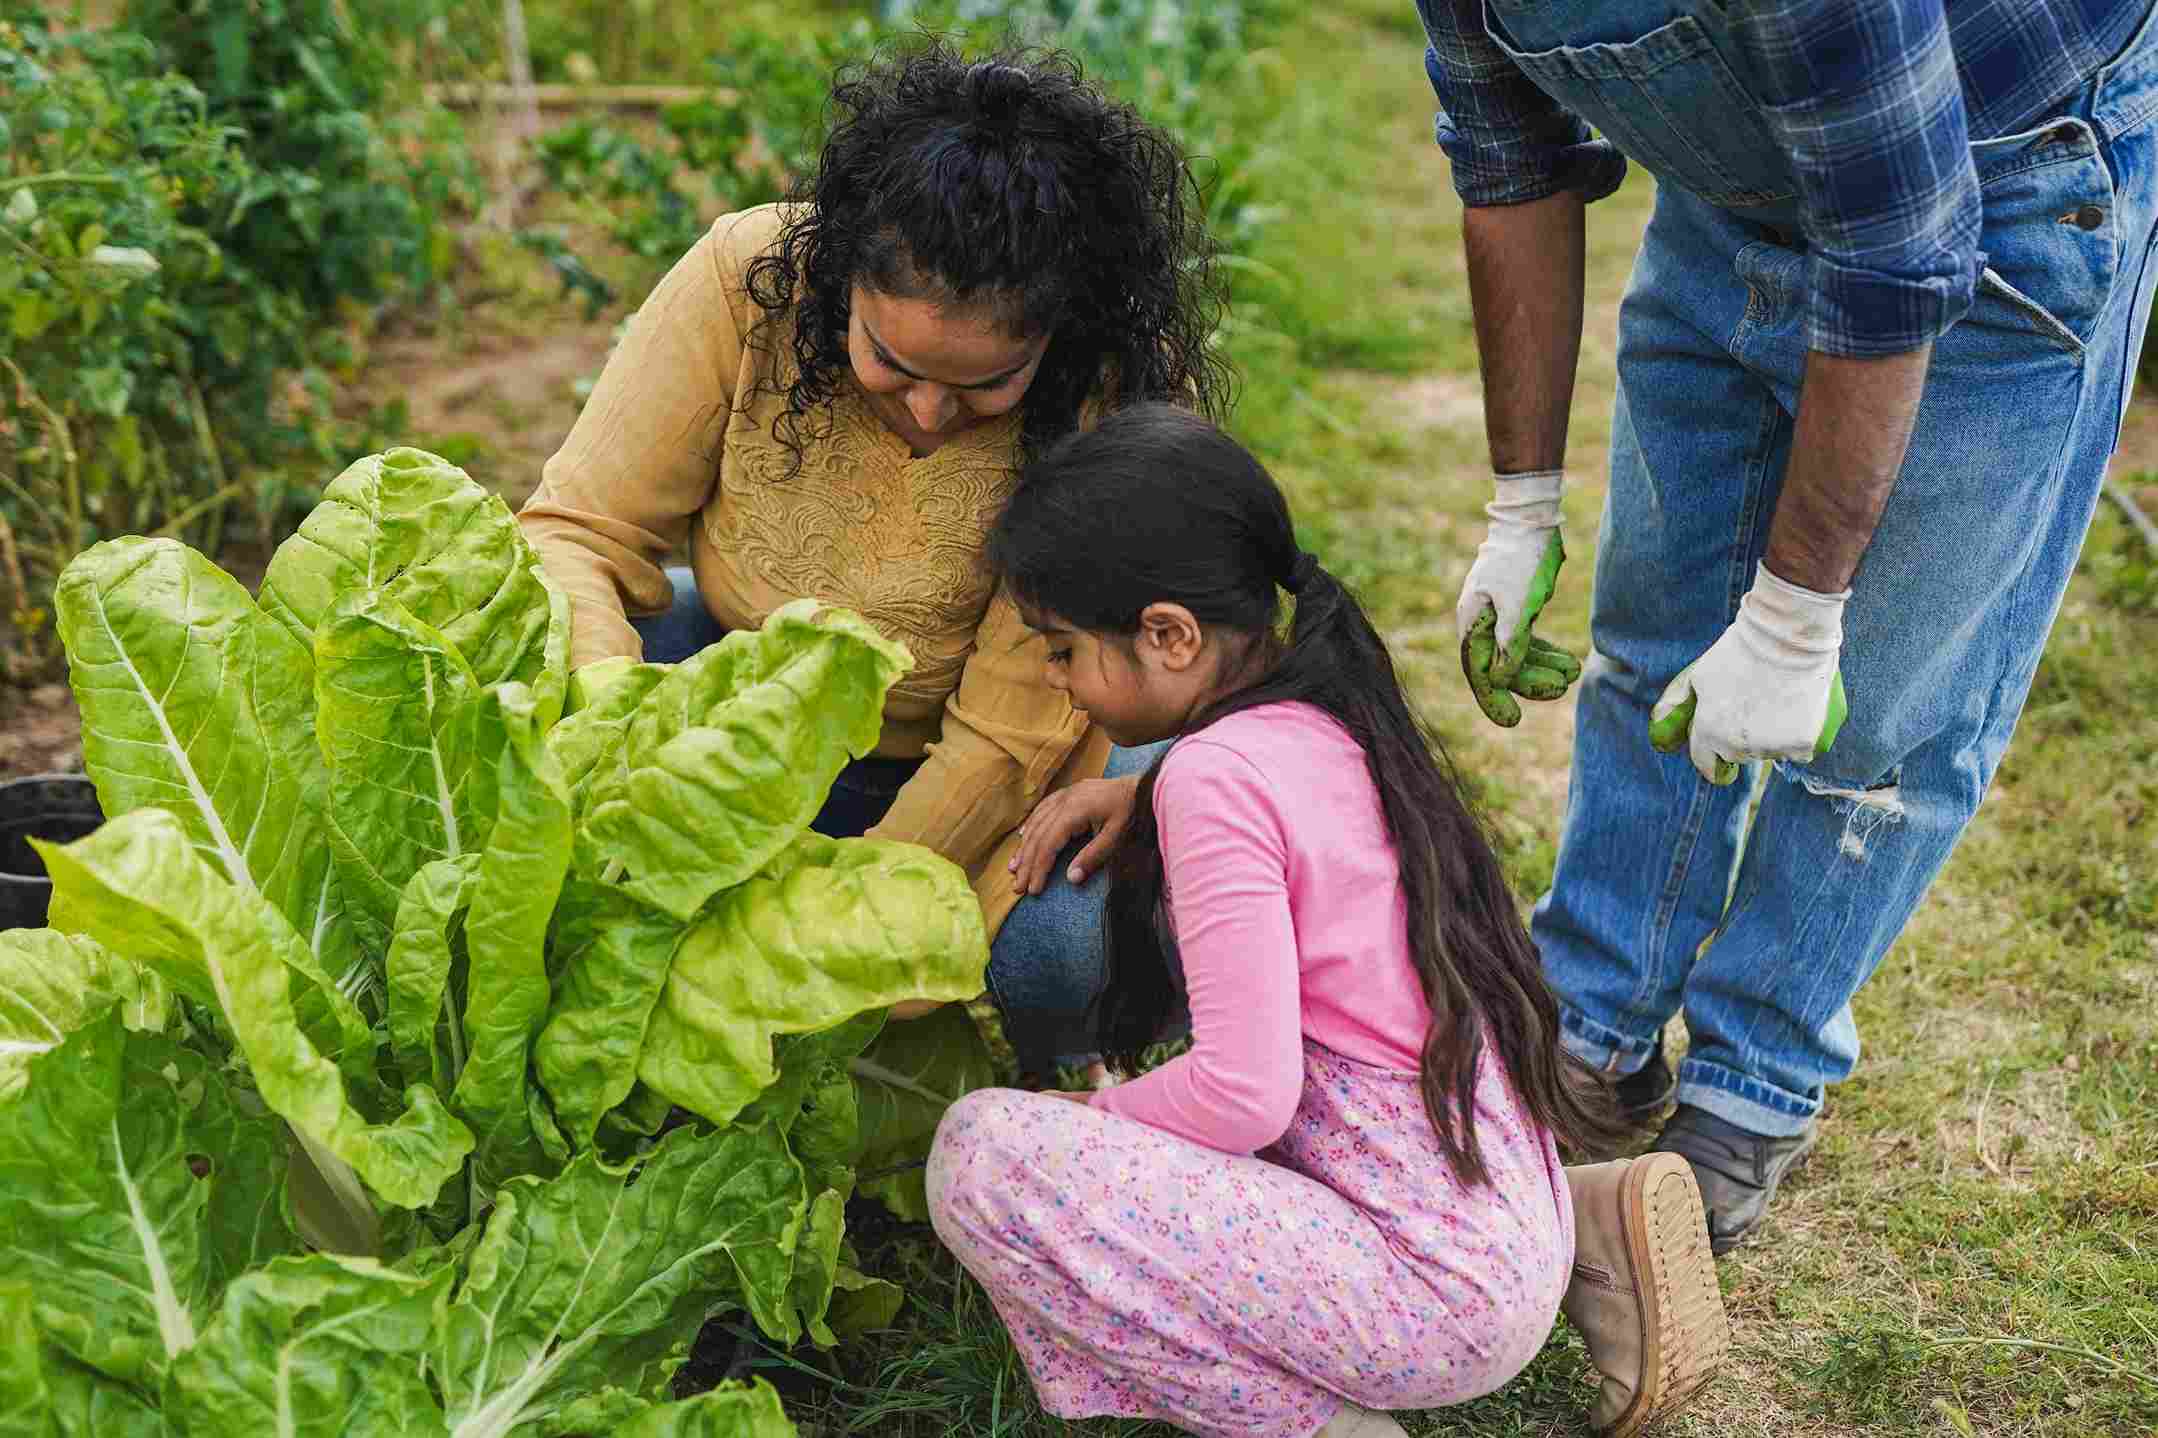
3. Lettuce
Why you should grow it
Lettuce grows quickly, and it is one of the easiest vegetables to regrow from kitchen scraps. This makes it perfect for a fun and educational activity with children, especially as they can watch it grow rapidly and enjoy it in salads and homemade burgers.
Step-by-step process
Step 1: Take the base of a lettuce head, the part that is usually discarded, and place it in a shallow dish of water. Make sure only the bottom is submerged and the leaves remain above water.
Step 2: Place the dish in a sunny spot. Within a few days, the lettuce base will start growing new leaves from the centre.
Step 3: Change the water every two days to prevent it from stagnating. Your kids can help with this by using a small watering can.
Step 4: Once the leaves have grown enough, plant the lettuce in the soil. If you are growing it in a garden, you can transplant it outside. Children can help by digging small holes for the lettuce.
Step 5: Within four to six weeks, your lettuce will be ready to harvest. Let your kids enjoy this process and help them out in picking the fresh leaves.
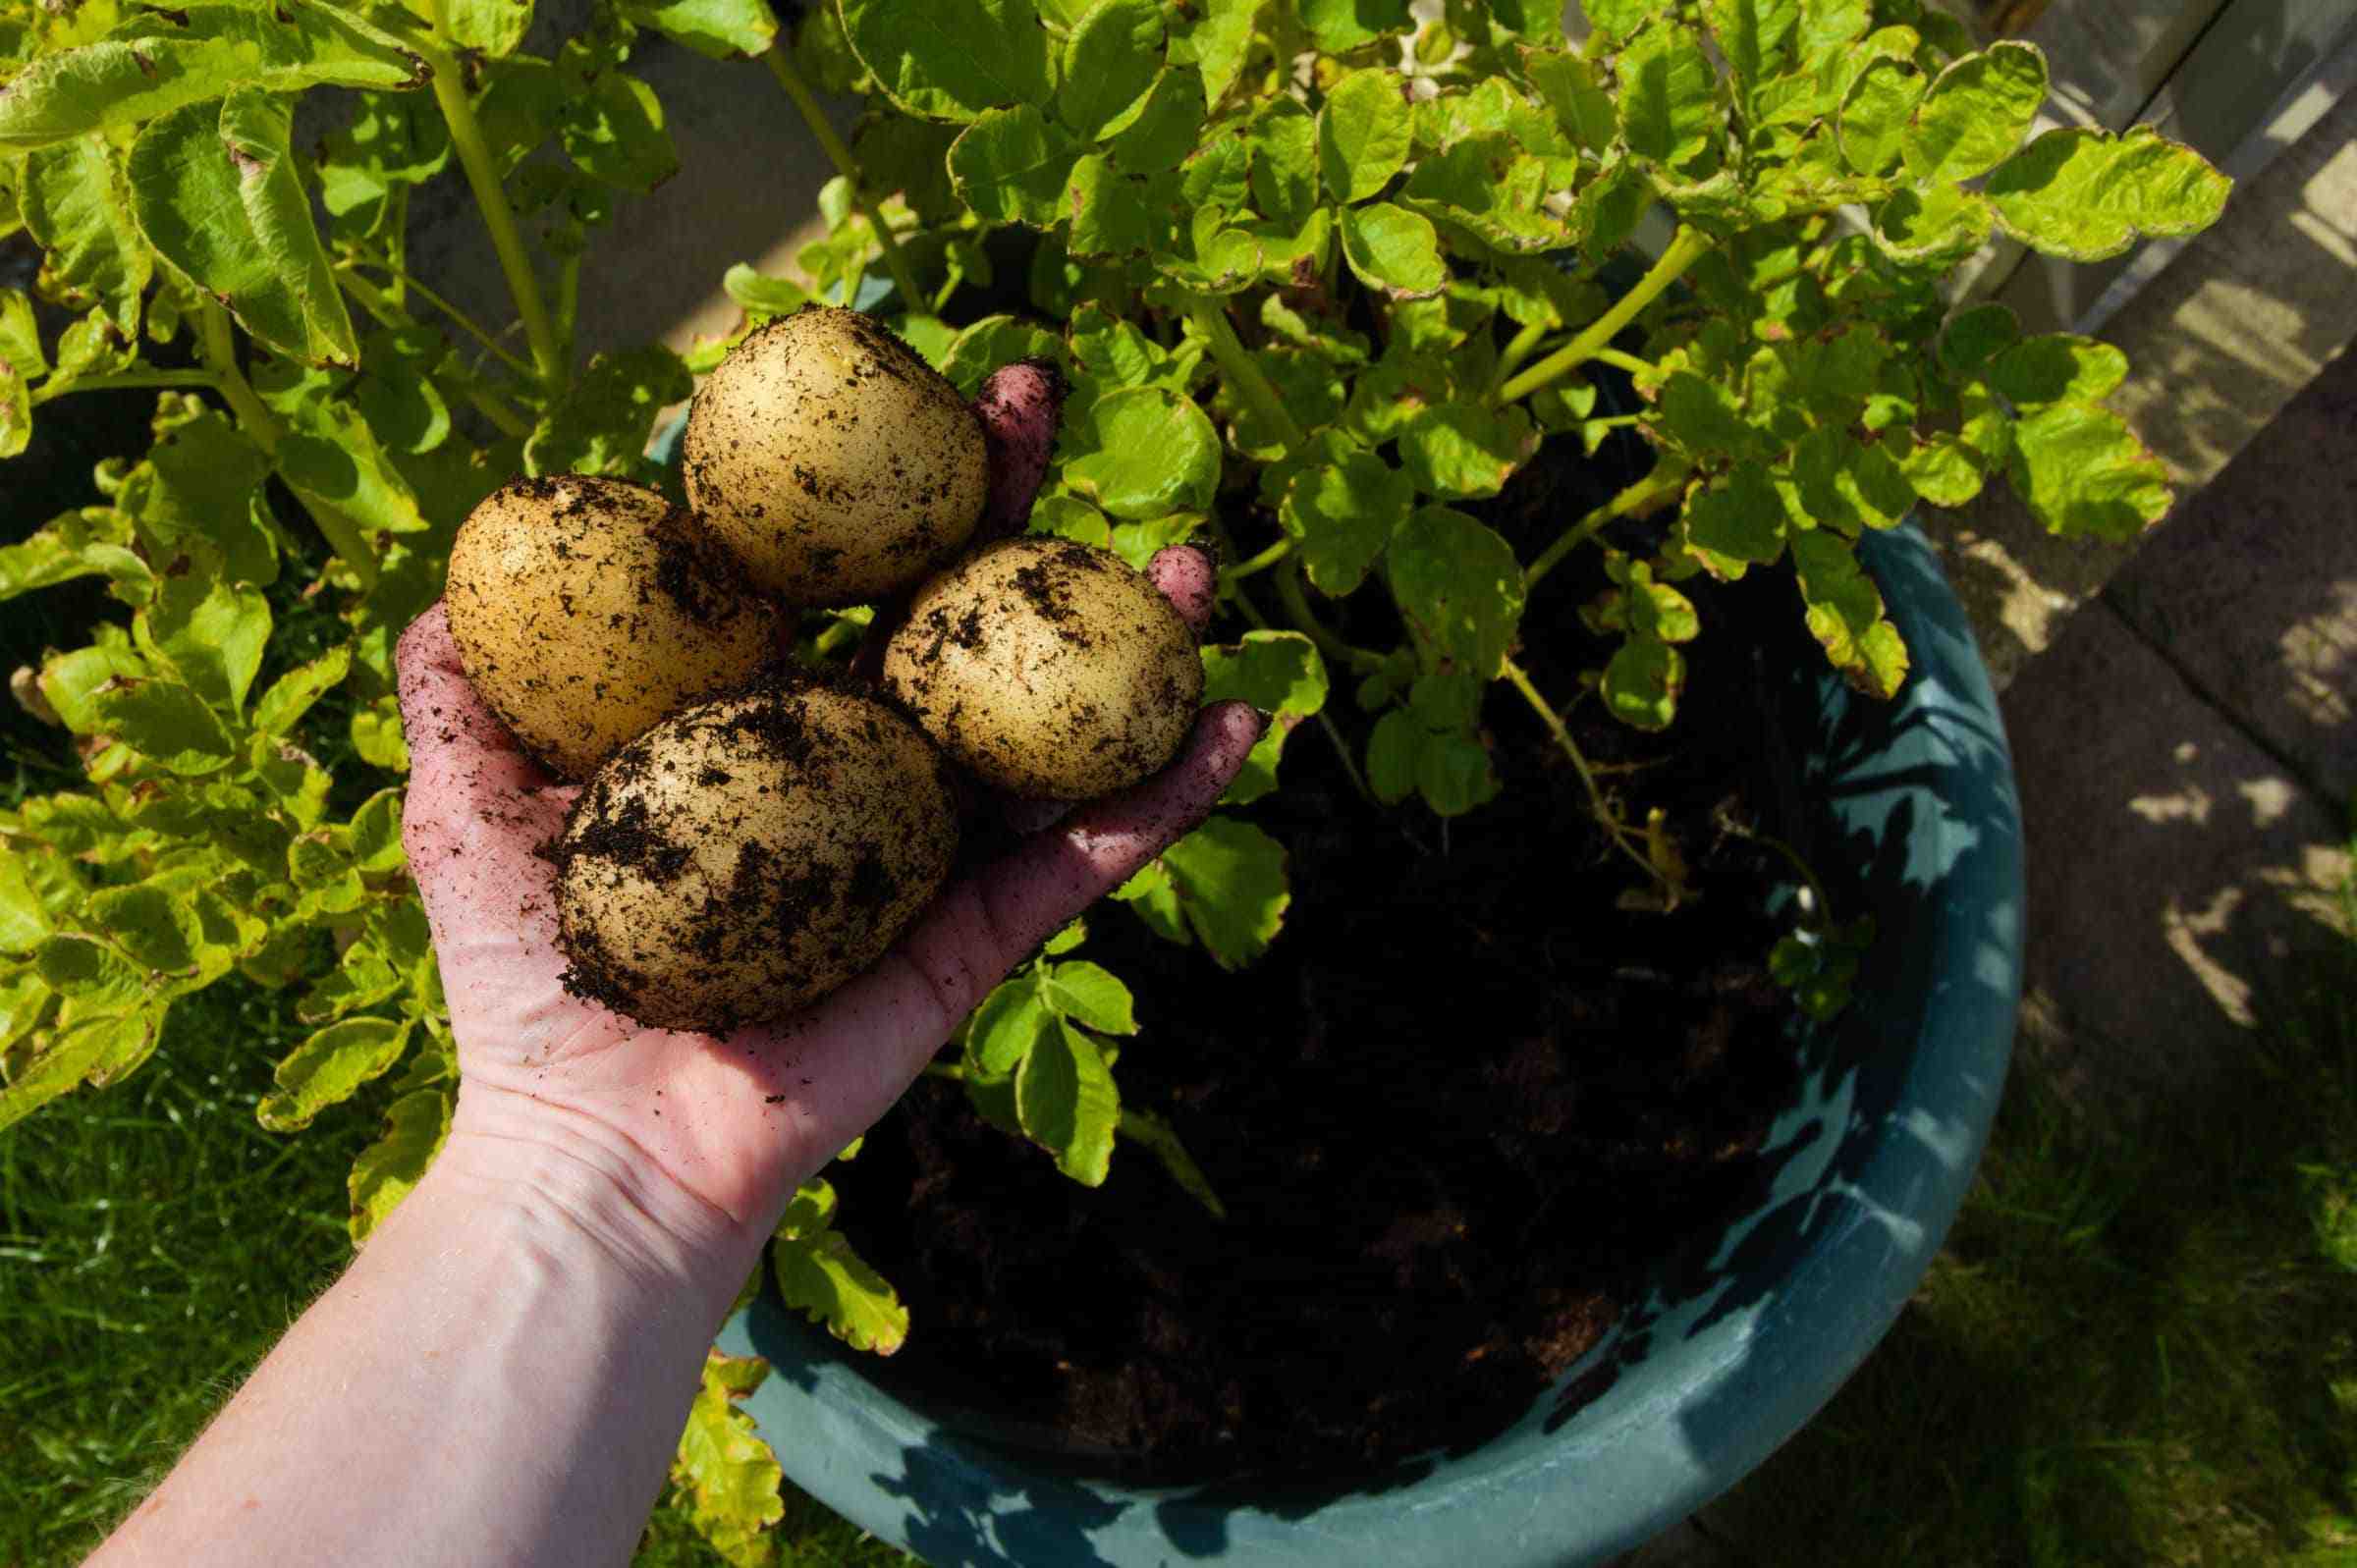
4. Potatoes
Why you should grow them
Potatoes are delicious and easy to grow. They are also incredibly versatile in cooking, and growing them is a great way to teach children about the importance of patience and nurturing plants.
Step-by-step process
Step 1: Take a potato that has sprouted “eyes” (the small buds on its surface). Cut the potato into pieces, considering each piece has at least one sprout.
Step 2: Let the pieces dry out for a couple of days to avoid rot. Kids can help by setting them aside and checking them each day.
Step 3: Prepare a pot with well-drained soil or choose a garden bed with good sunlight. Let the children use small shovels or their hands to plant the potato pieces about 5-7cm deep, with the sprouted eyes facing upward.
Step 4: Water the potatoes regularly, checking the soil is moist but not soggy. Kids can help by gently watering the plants every day.
Step 5: After 2-3 months, when the plants start to flower and the leaves begin to die back, it’s time to harvest the potatoes. This is the most exciting part for kids as they will enjoy digging up their homegrown spuds.
Tips to keep kids engaged in gardening
- Create a planting chart: Encourage kids to keep track of each vegetable’s growth by creating a colourful chart to mark milestones, such as when the seeds sprouted or when they can begin watering.
- Get creative: Let your kids paint the plant pots or create fun plant labels. This adds a personal touch to the garden and makes the experience even more enjoyable.
- Harvest together: The moment of harvesting vegetables is always thrilling for children. Celebrate their hard work by preparing a meal with the vegetables they have grown.
Edited by Vidya Gowri


No comments:
Post a Comment