As a child, I fancied having a huge garden to myself and despite several attempts, I faced tough luck in growing mango plants at home. After extracting the juicy pulp, for years we have been discarding the skin and seed of the mango. I felt sad thinking about the number of seeds that are going to waste and wondered if there was any way they could be used. It was only a few years ago that I finally got myself to do something about it.
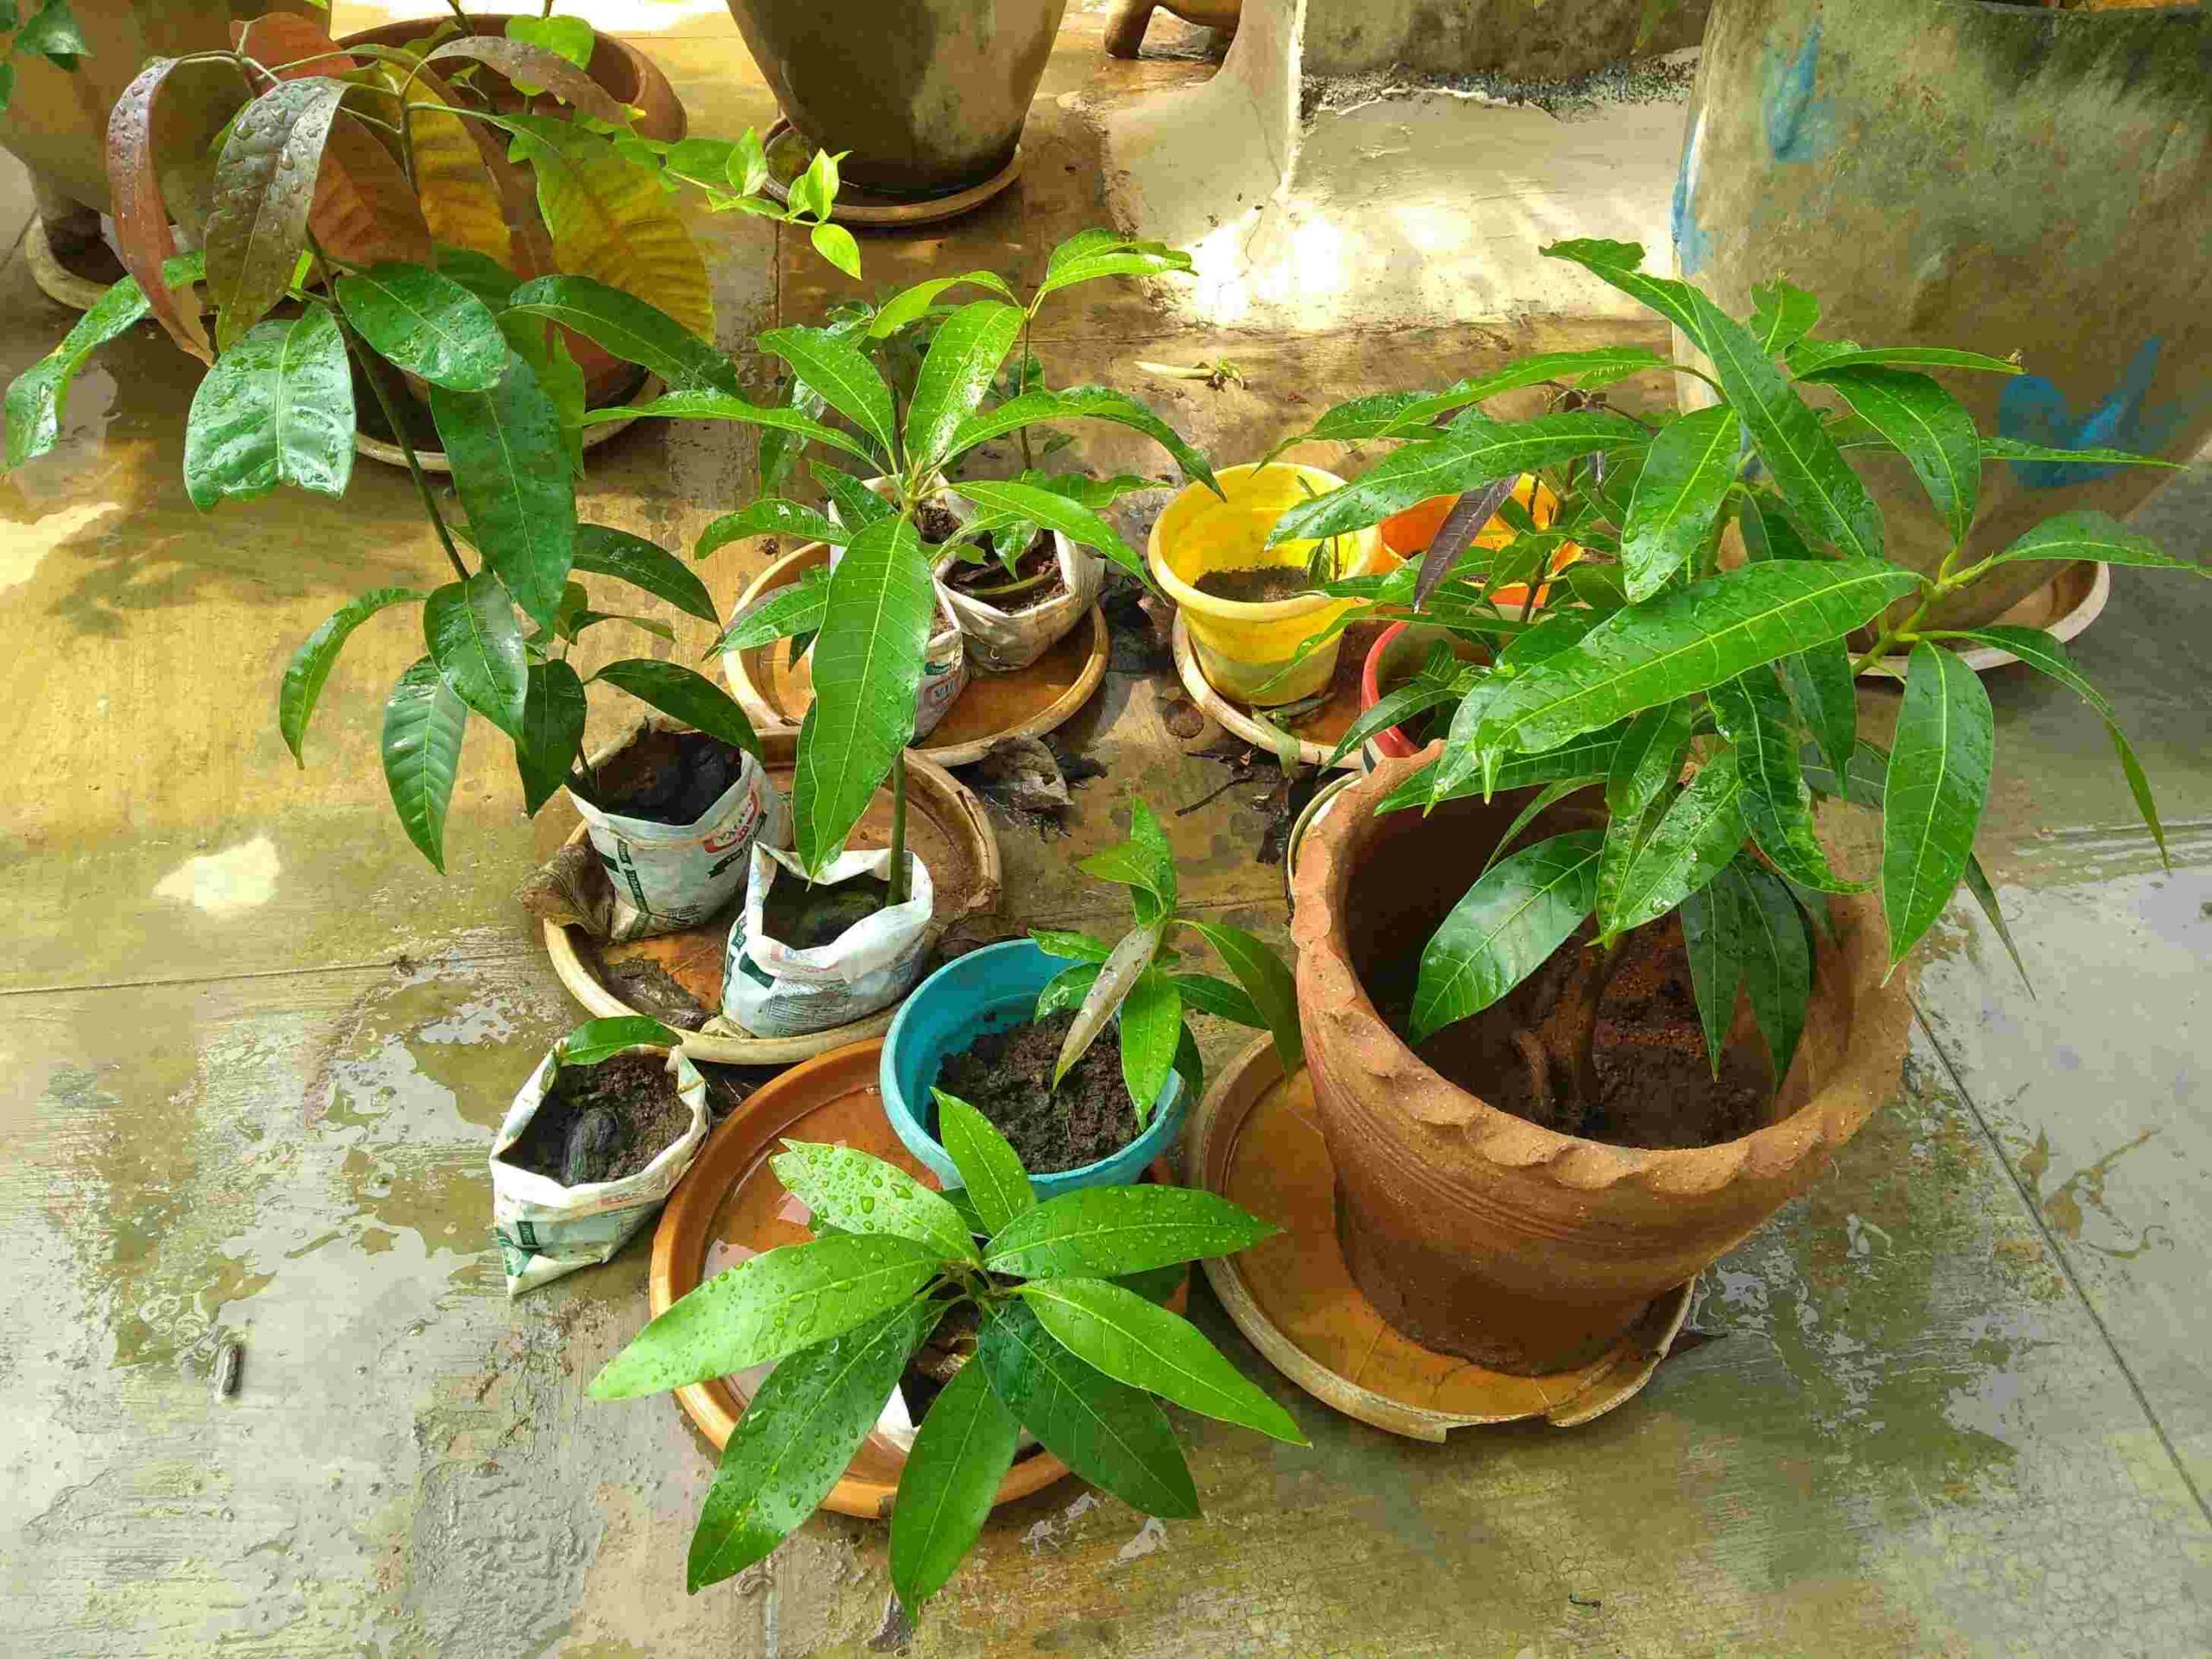
I began researching the seed to know more about how to germinate it at home and if it is even possible to grow a mango plant from the seed of the fruit without processing it. After all, it was the child in me waiting to taste success to have a mango plant of my own.
It took some failed attempts but when I finally learnt the right way to germinate a mango seed, it began feeling that with every wasted seed, there’s a sapling I am losing which has the potential to turn into a tree. And it wasn’t even nearly possible for me to house saplings at home for all the mangoes we, as a family, consumed. This got me thinking if the seeds of a mango are consumable and what health impacts does it have.

To my surprise, mango seeds have been used for years in Indian cuisine as a post-meal mouth freshener, and more importantly, in powdered form, they are considered a good choice for people battling high blood pressure and cholesterol. After this knowledge, I frantically saved every seed to either germinate or process it to make it consumable.
It has been 3 years now since I grew my first mango sapling at home and the plant is thriving on my terrace garden. However, it was during the previous year when the experience and learning took an interesting turn in the growth chart. While the lockdown and uncertainty around COVID-19 loomed, I experimented with different methods on how to germinate the mango seed from the fruit.
With one particular method, I ended up successfully germinating more than 30 seeds with barely any resources.
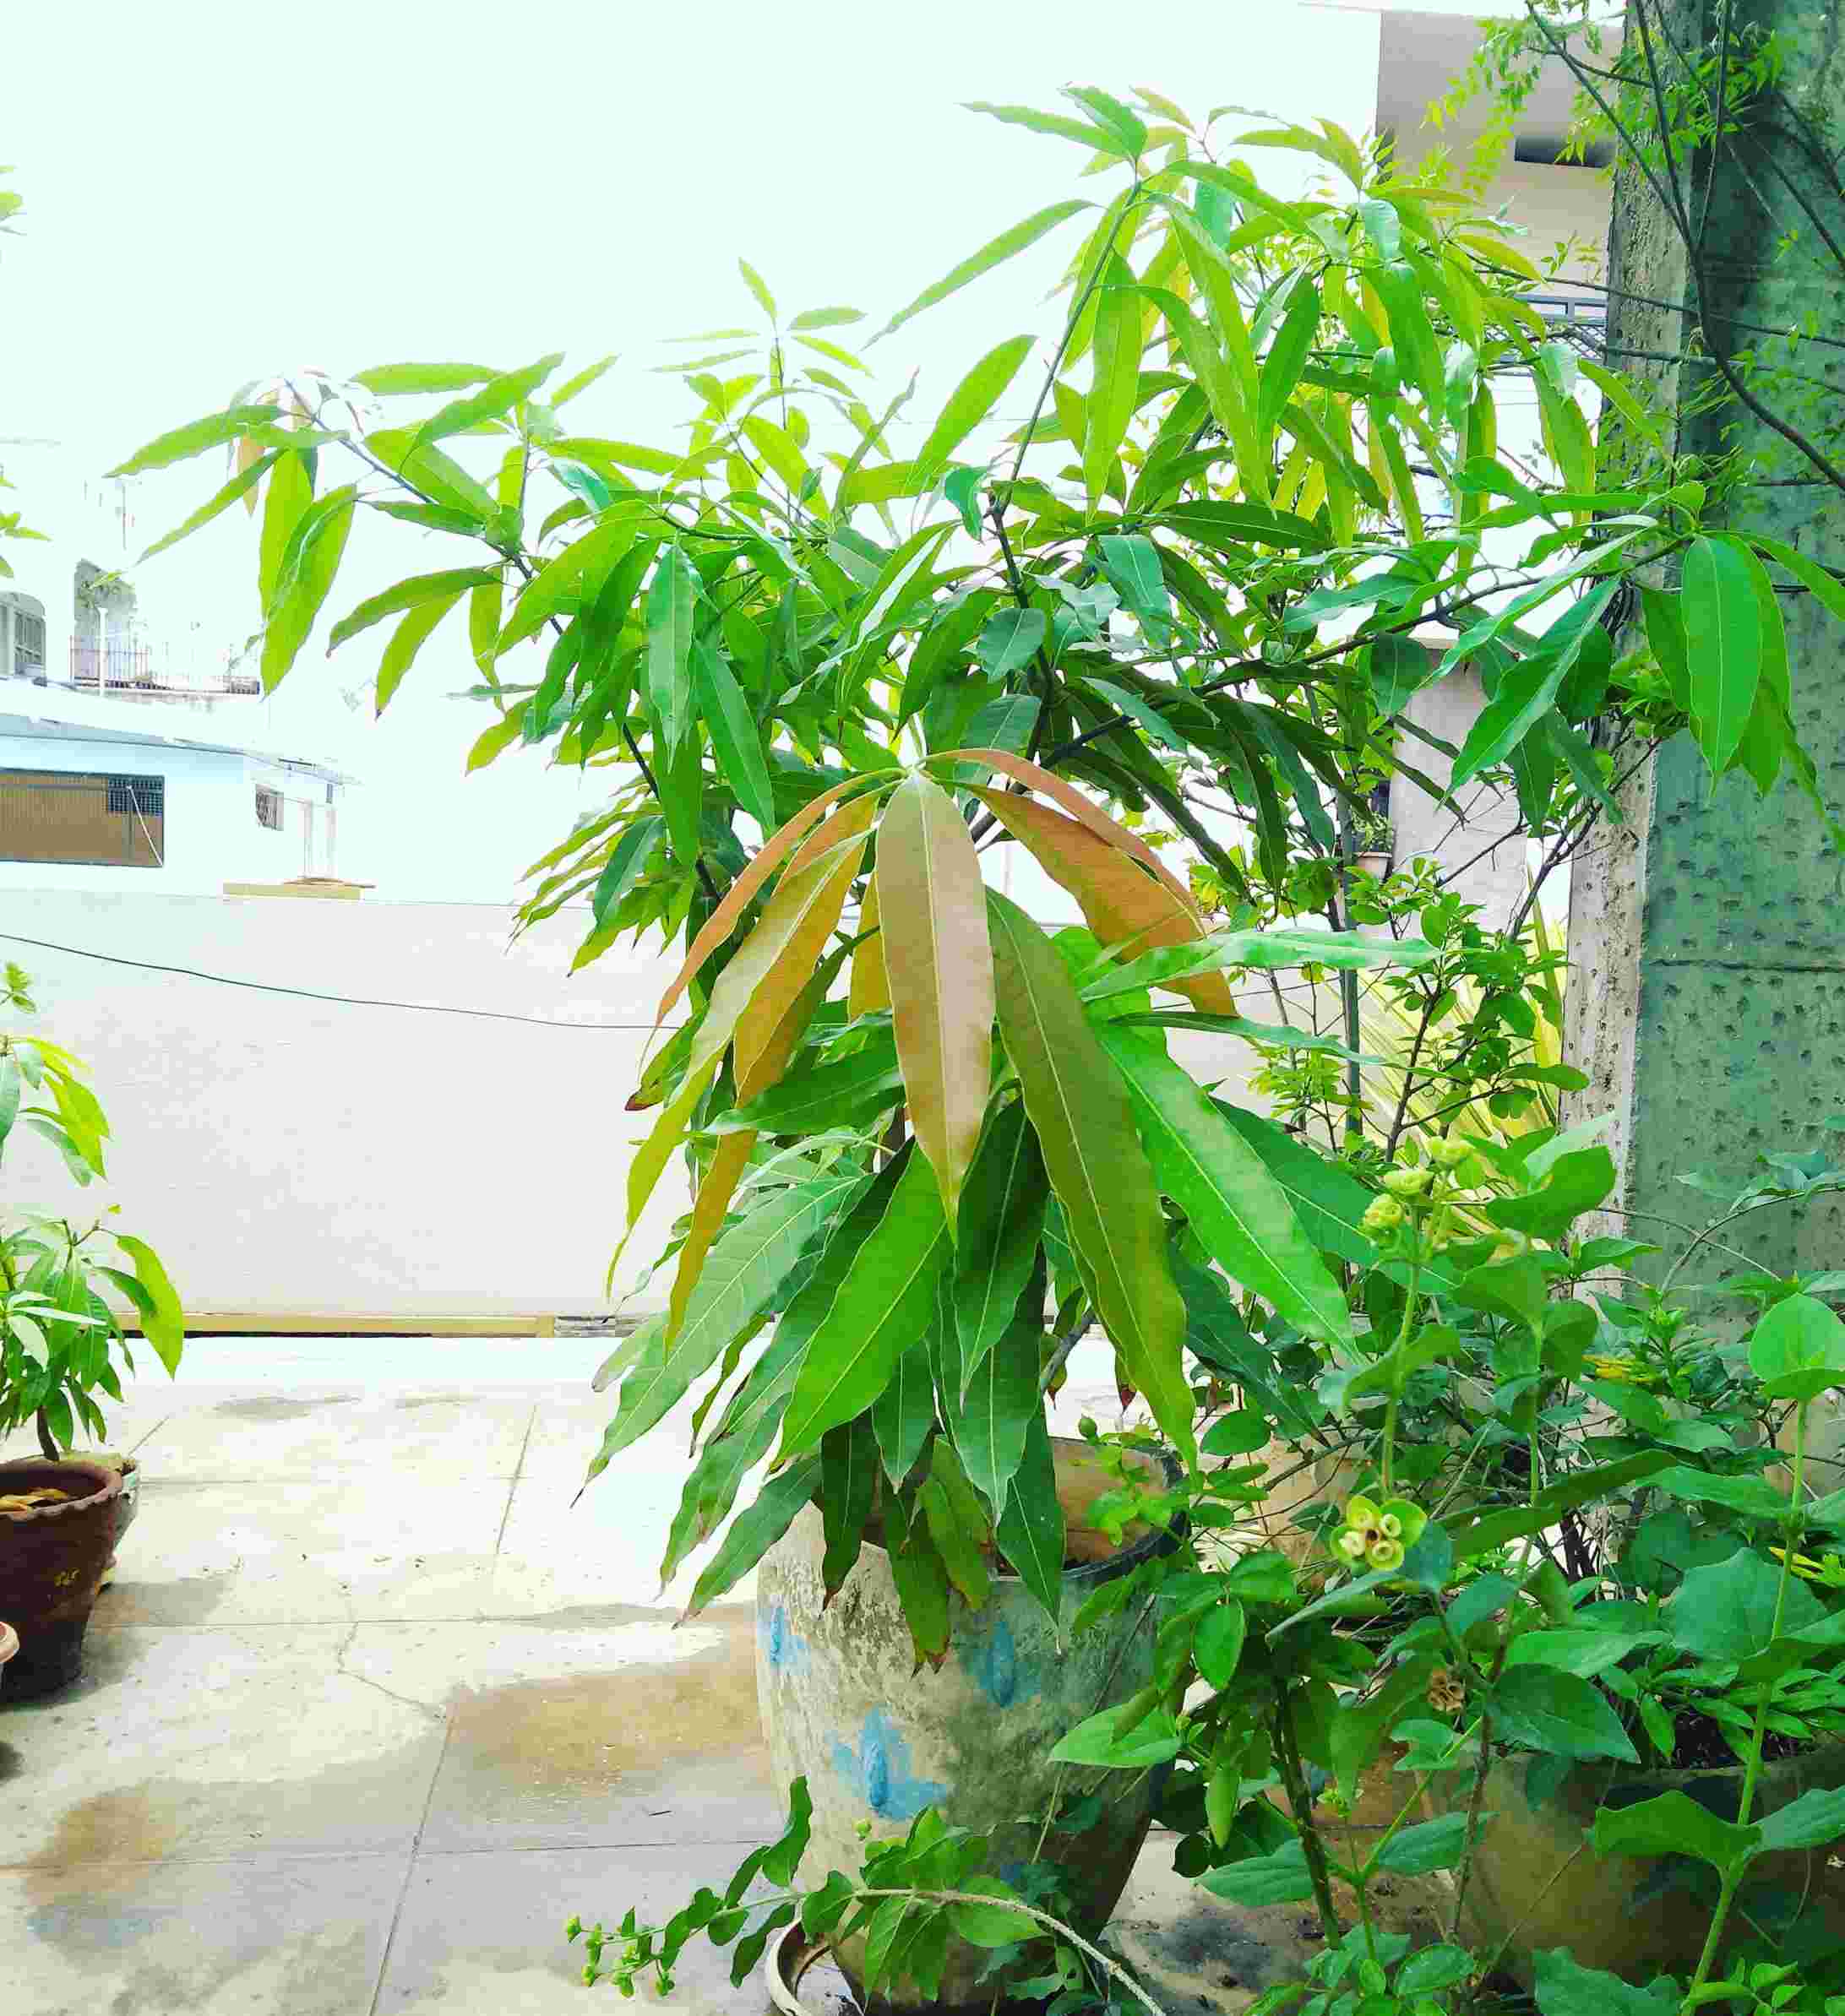
All that I needed were mango seeds, a bagful of coconut fiber (coir), water and a container with a lid. After the seeds began germinating—since I did not have many small pots immediately available—I used milk packets to plant them so that it would be easy to give the saplings away to any person who has space to plant it in soil.
Based on several attempts, here is the easiest method with a high success rate:
Step 1: After devouring the pulp of the mango seed, clean its hard shell.
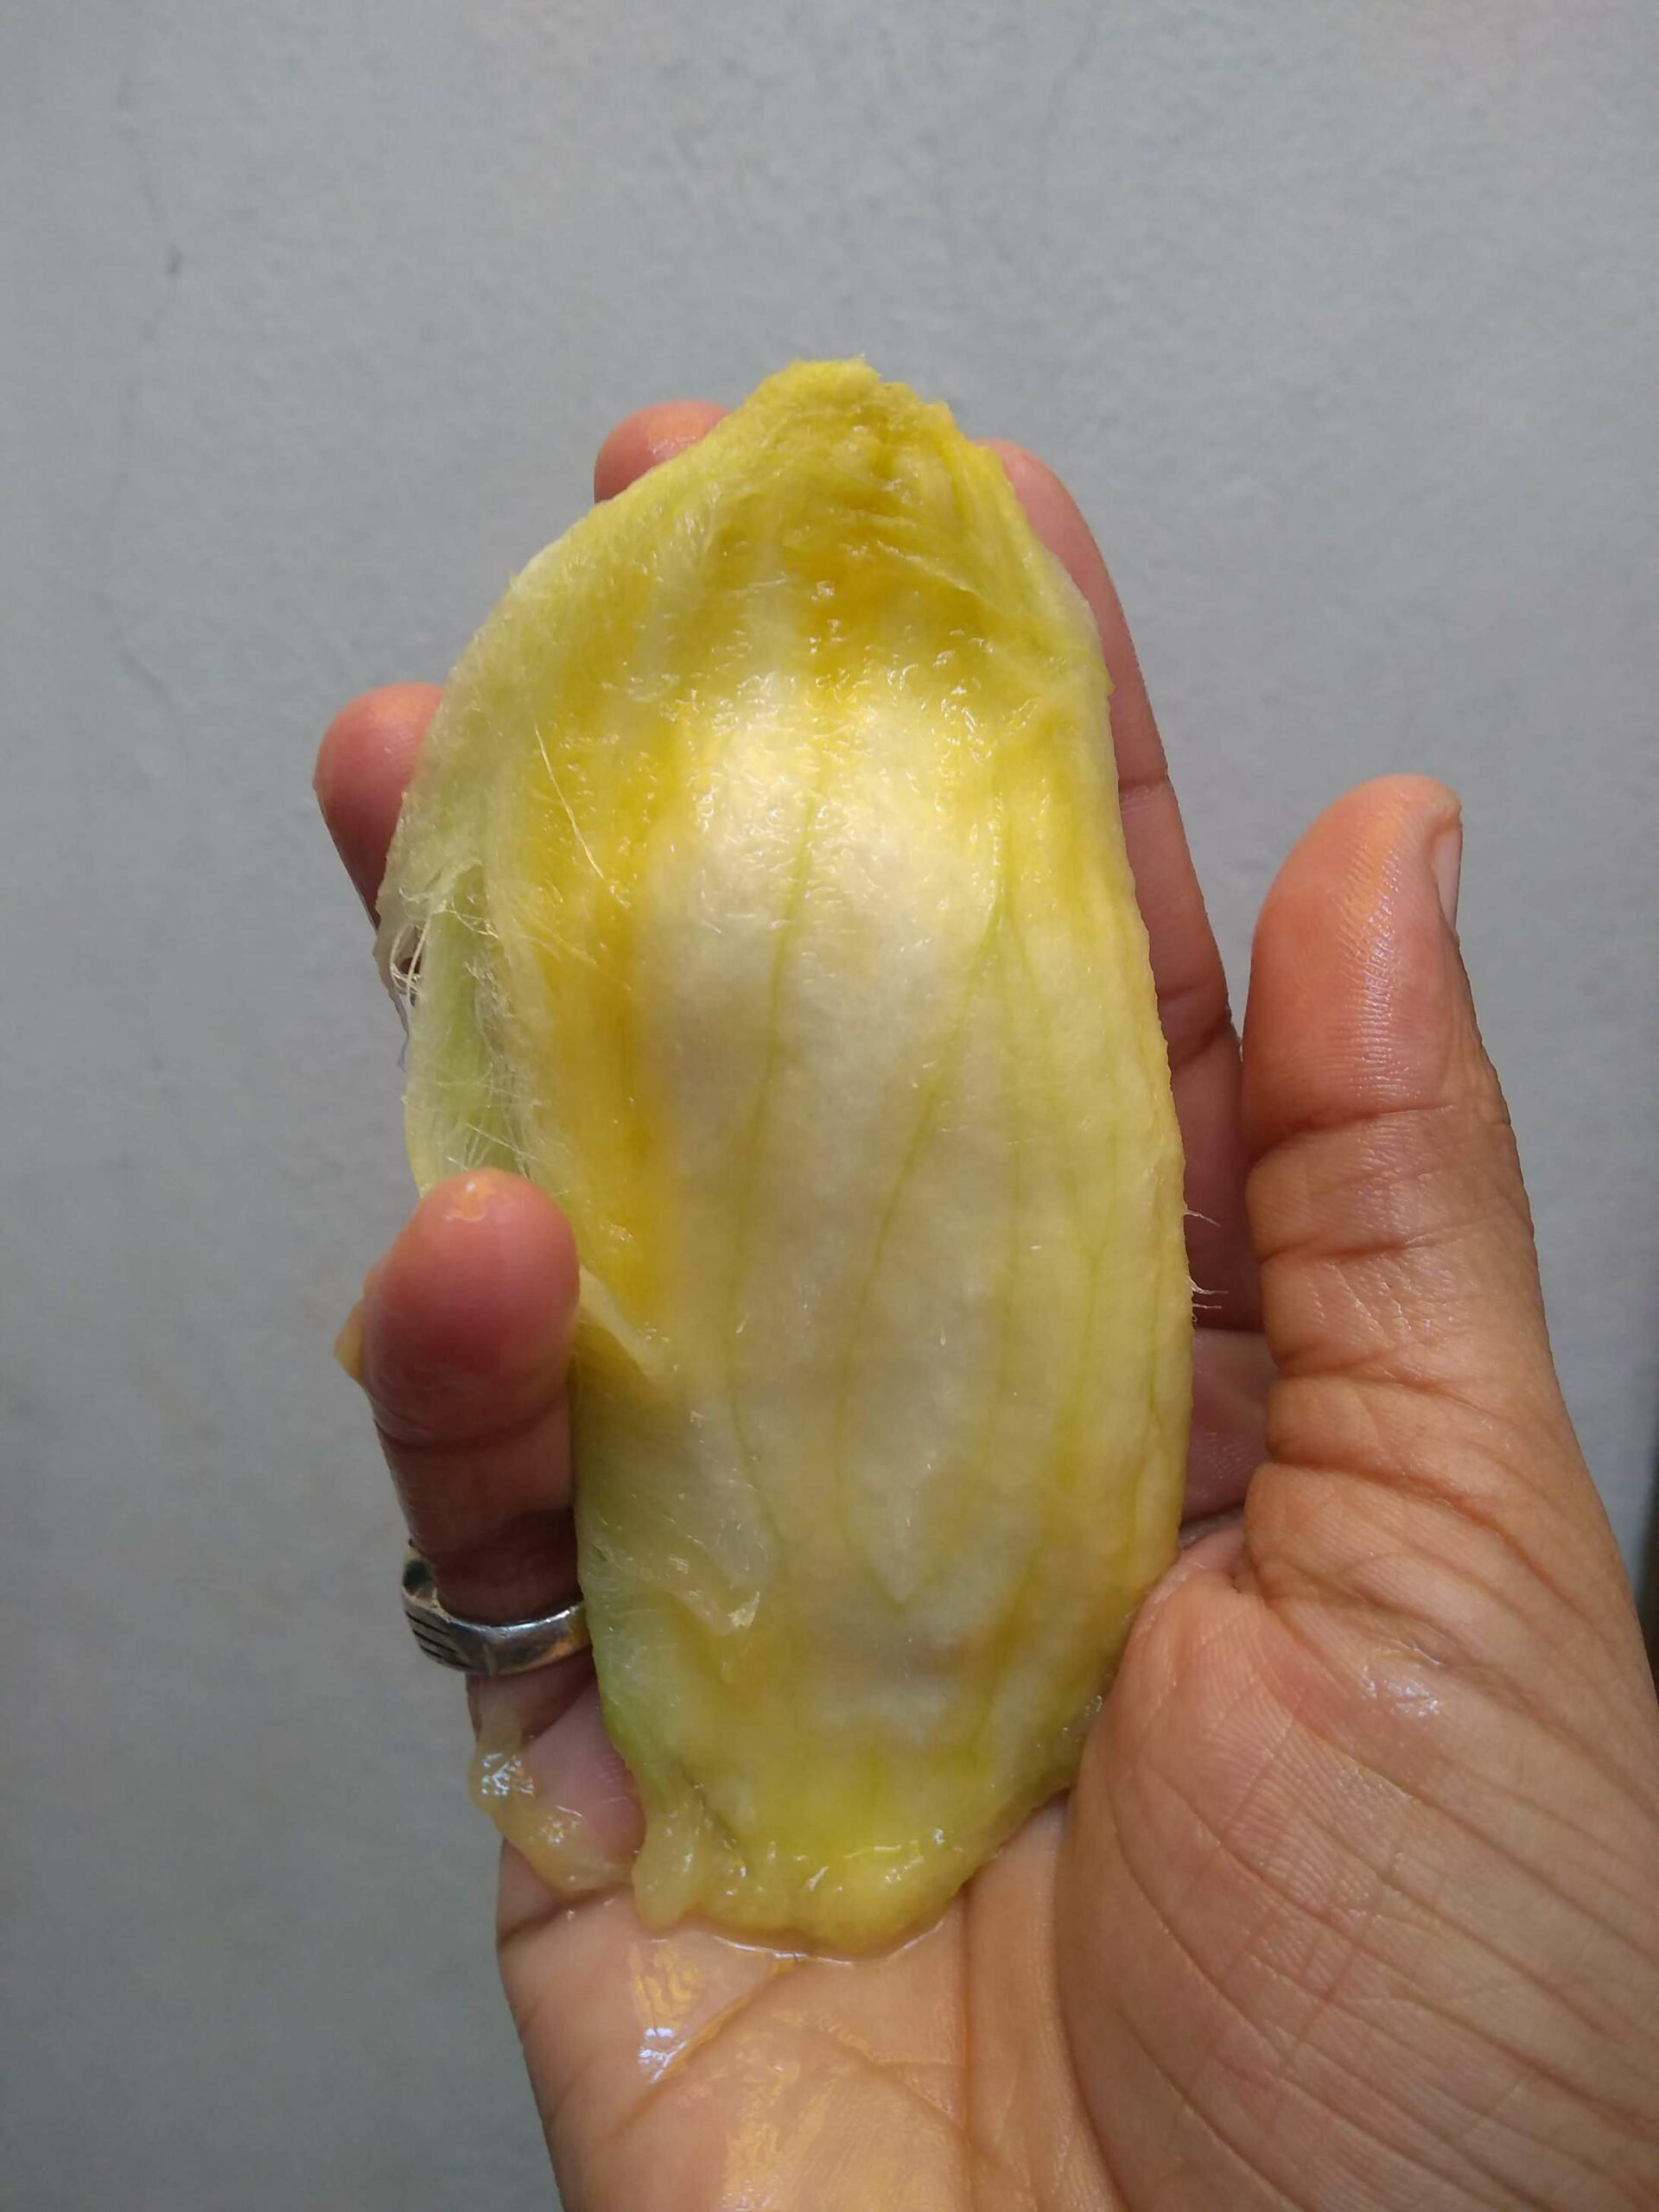
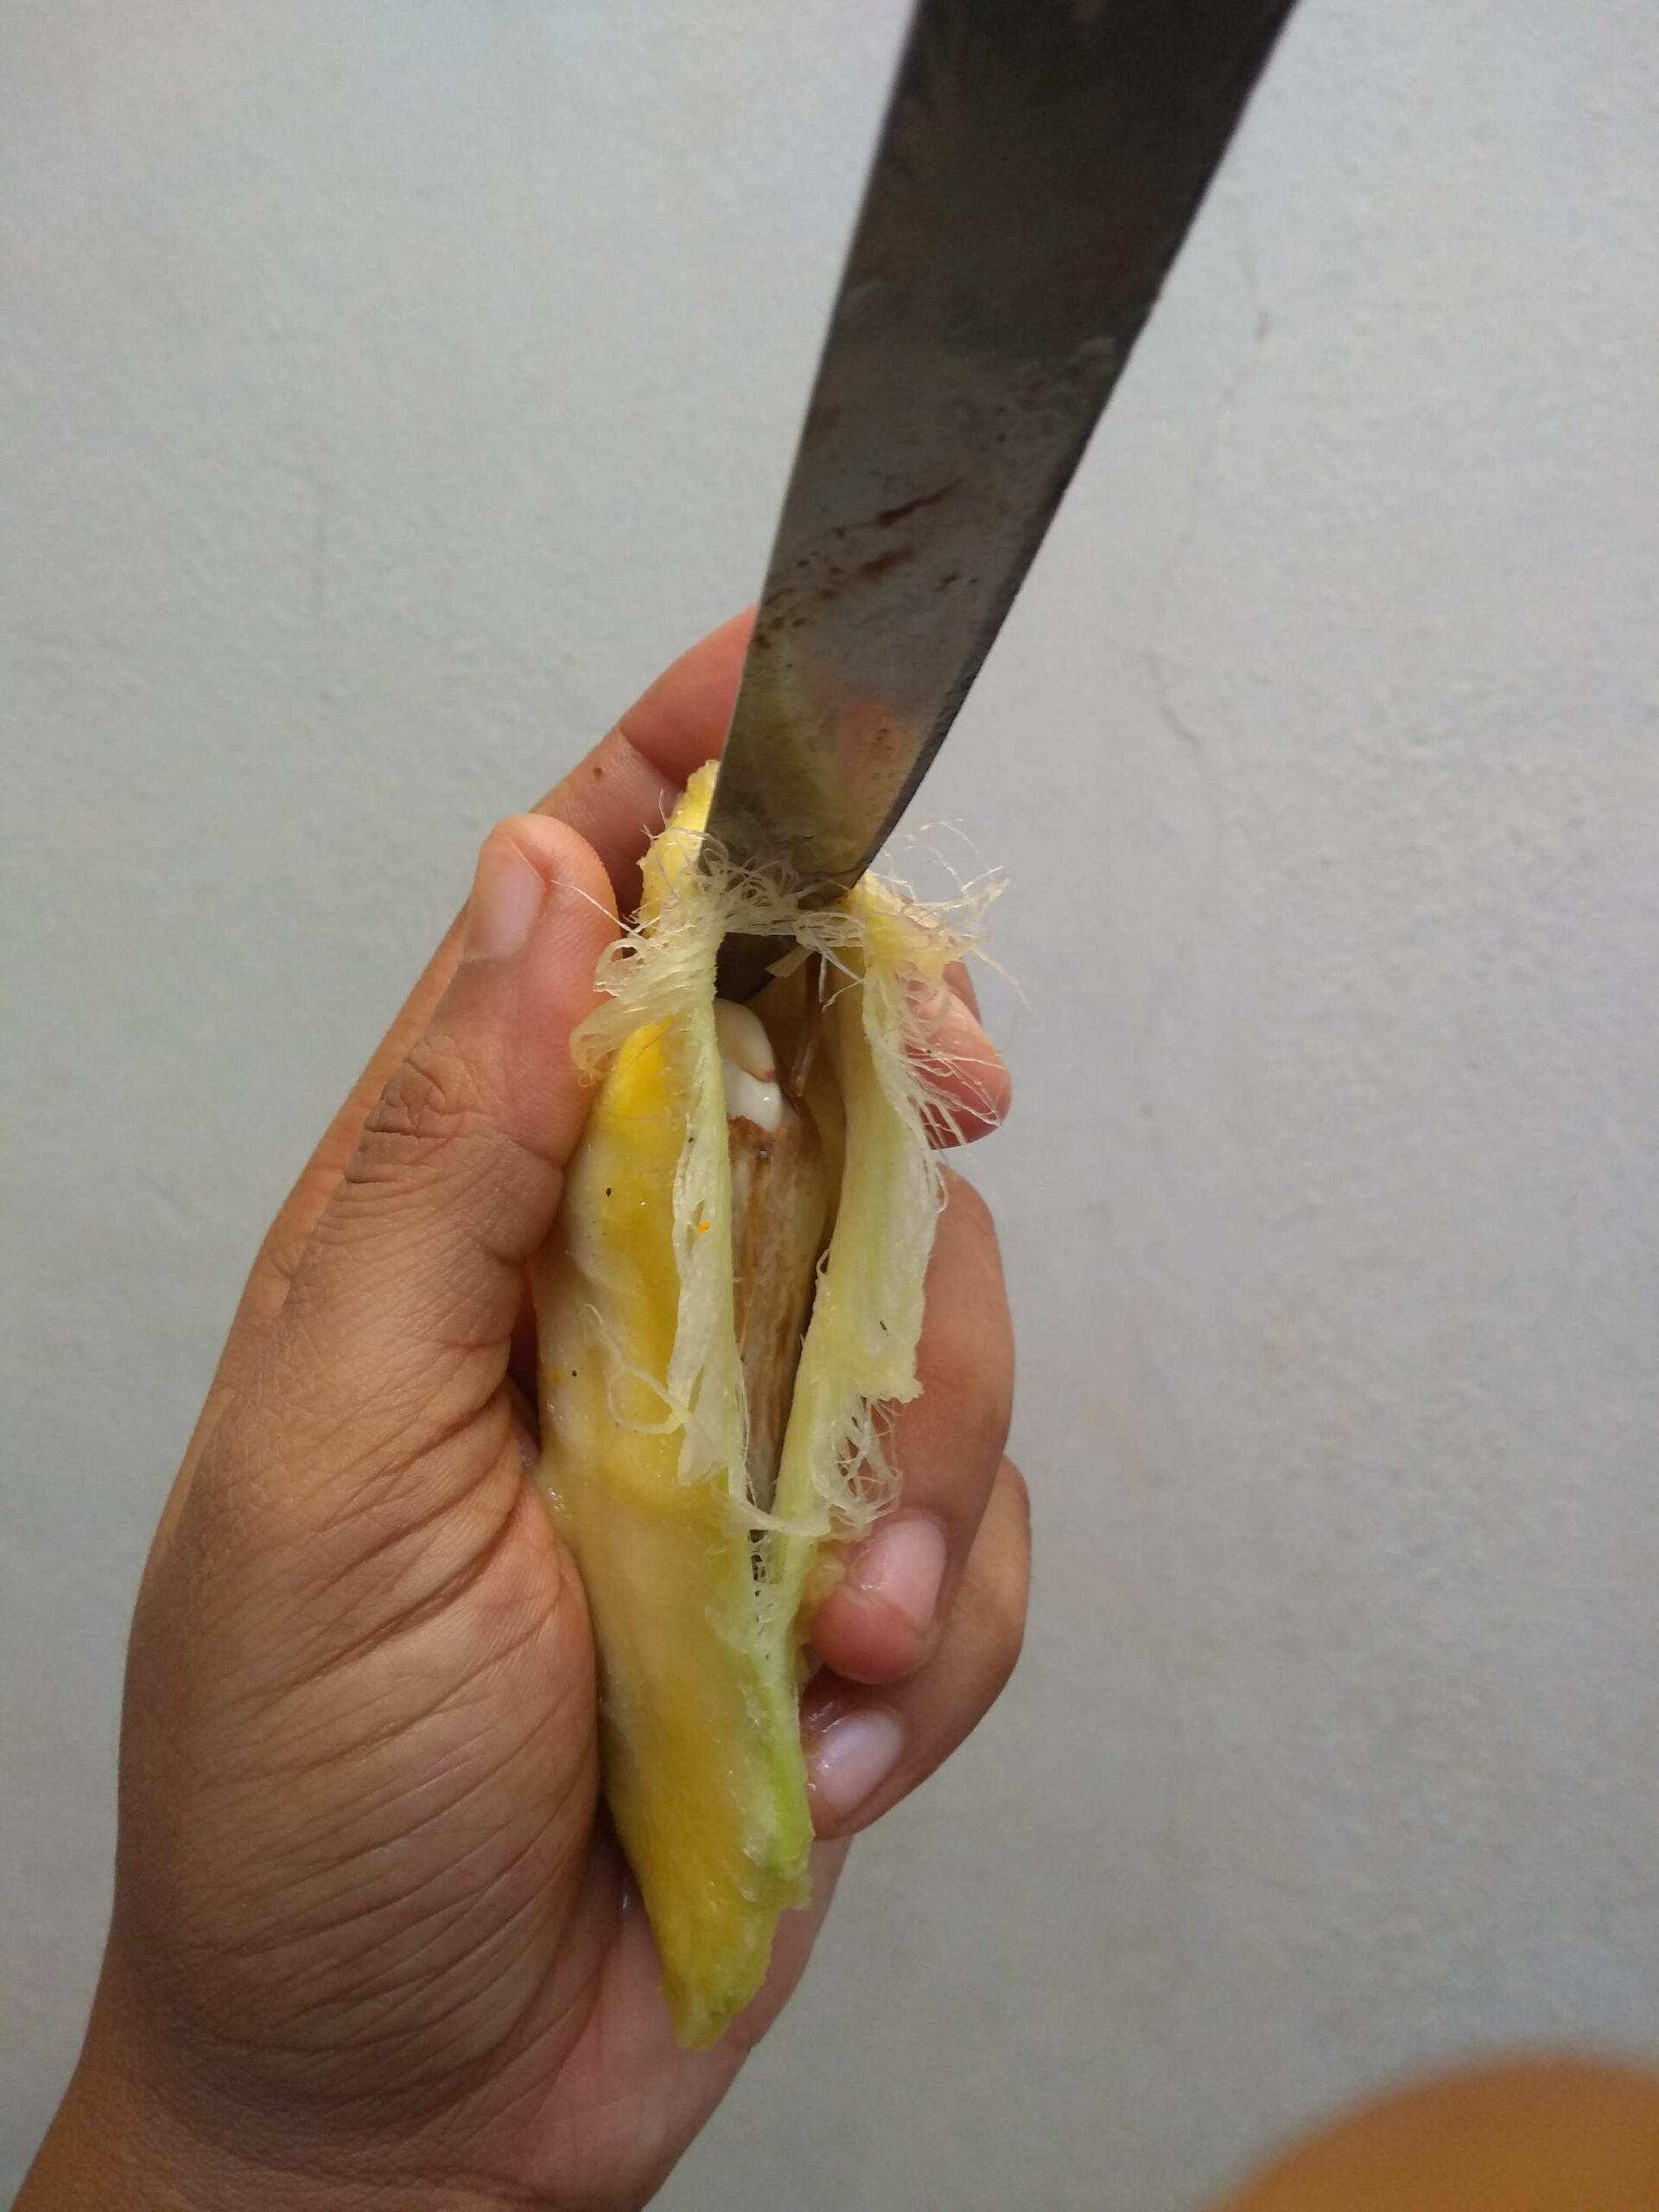
Step 2: Carefully cut open the shell without damaging the inner seed.
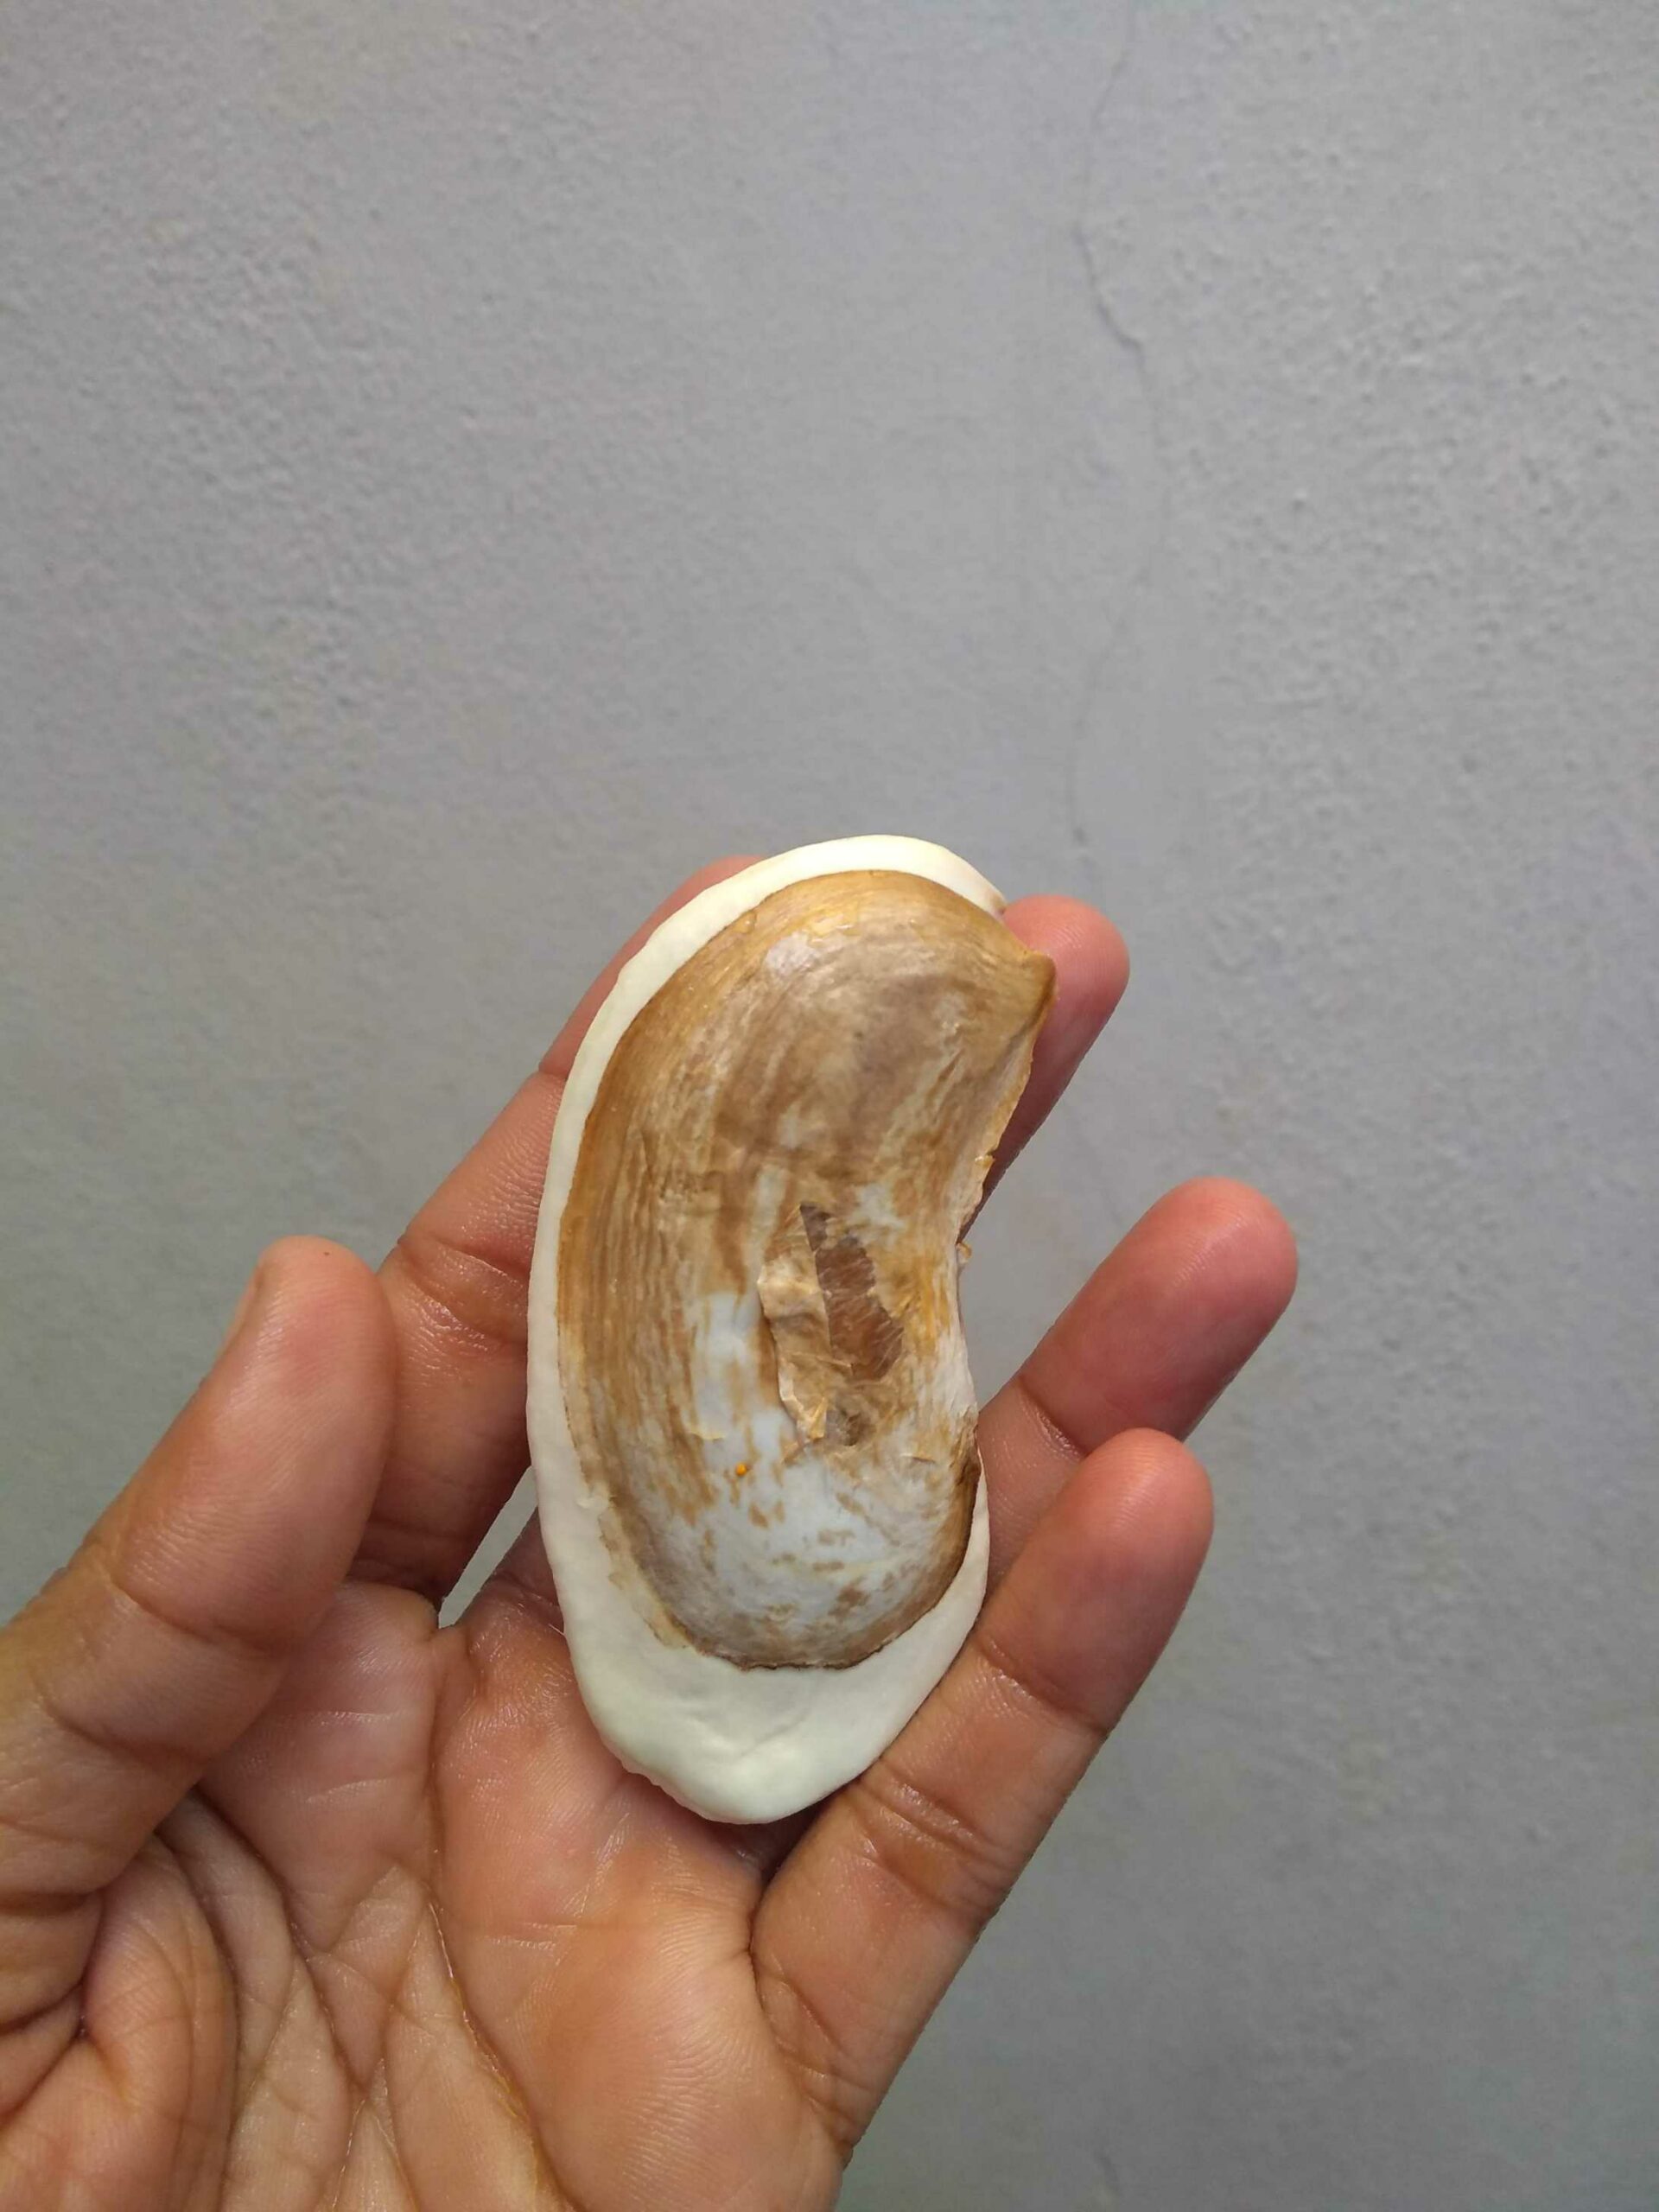
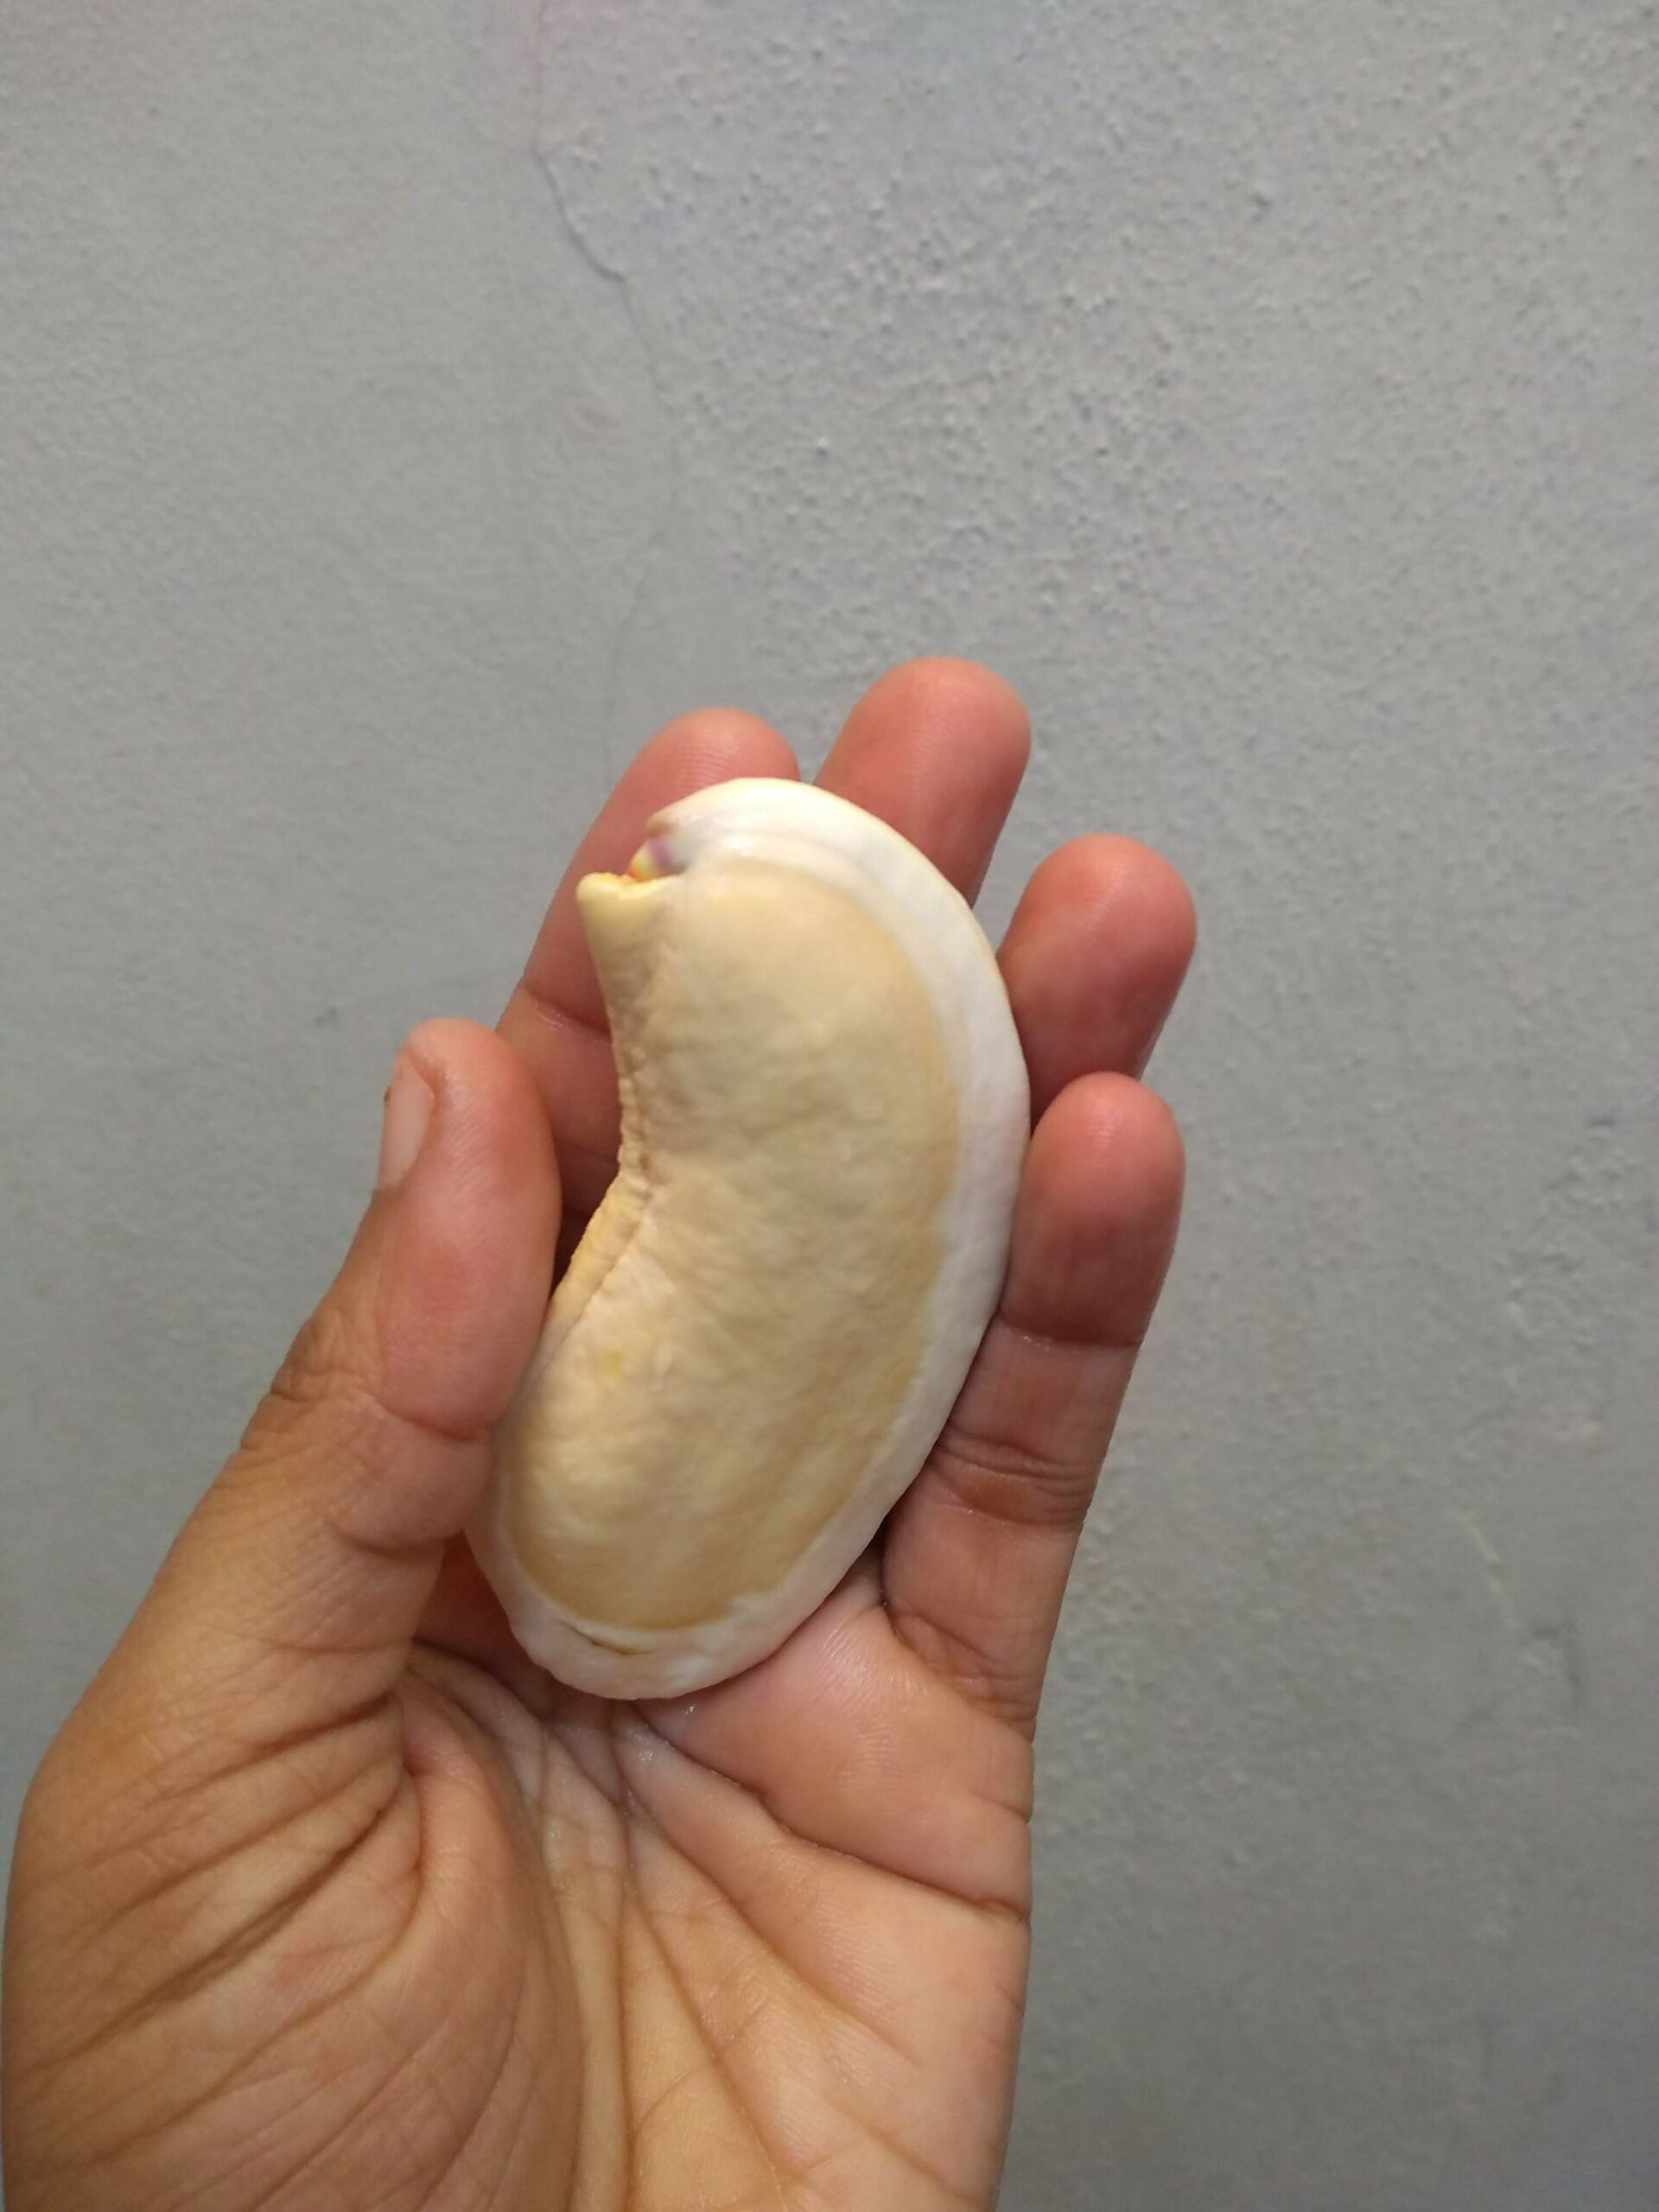
Step 3: Peel off the thin brown layer on the smaller seed and wash it clean.
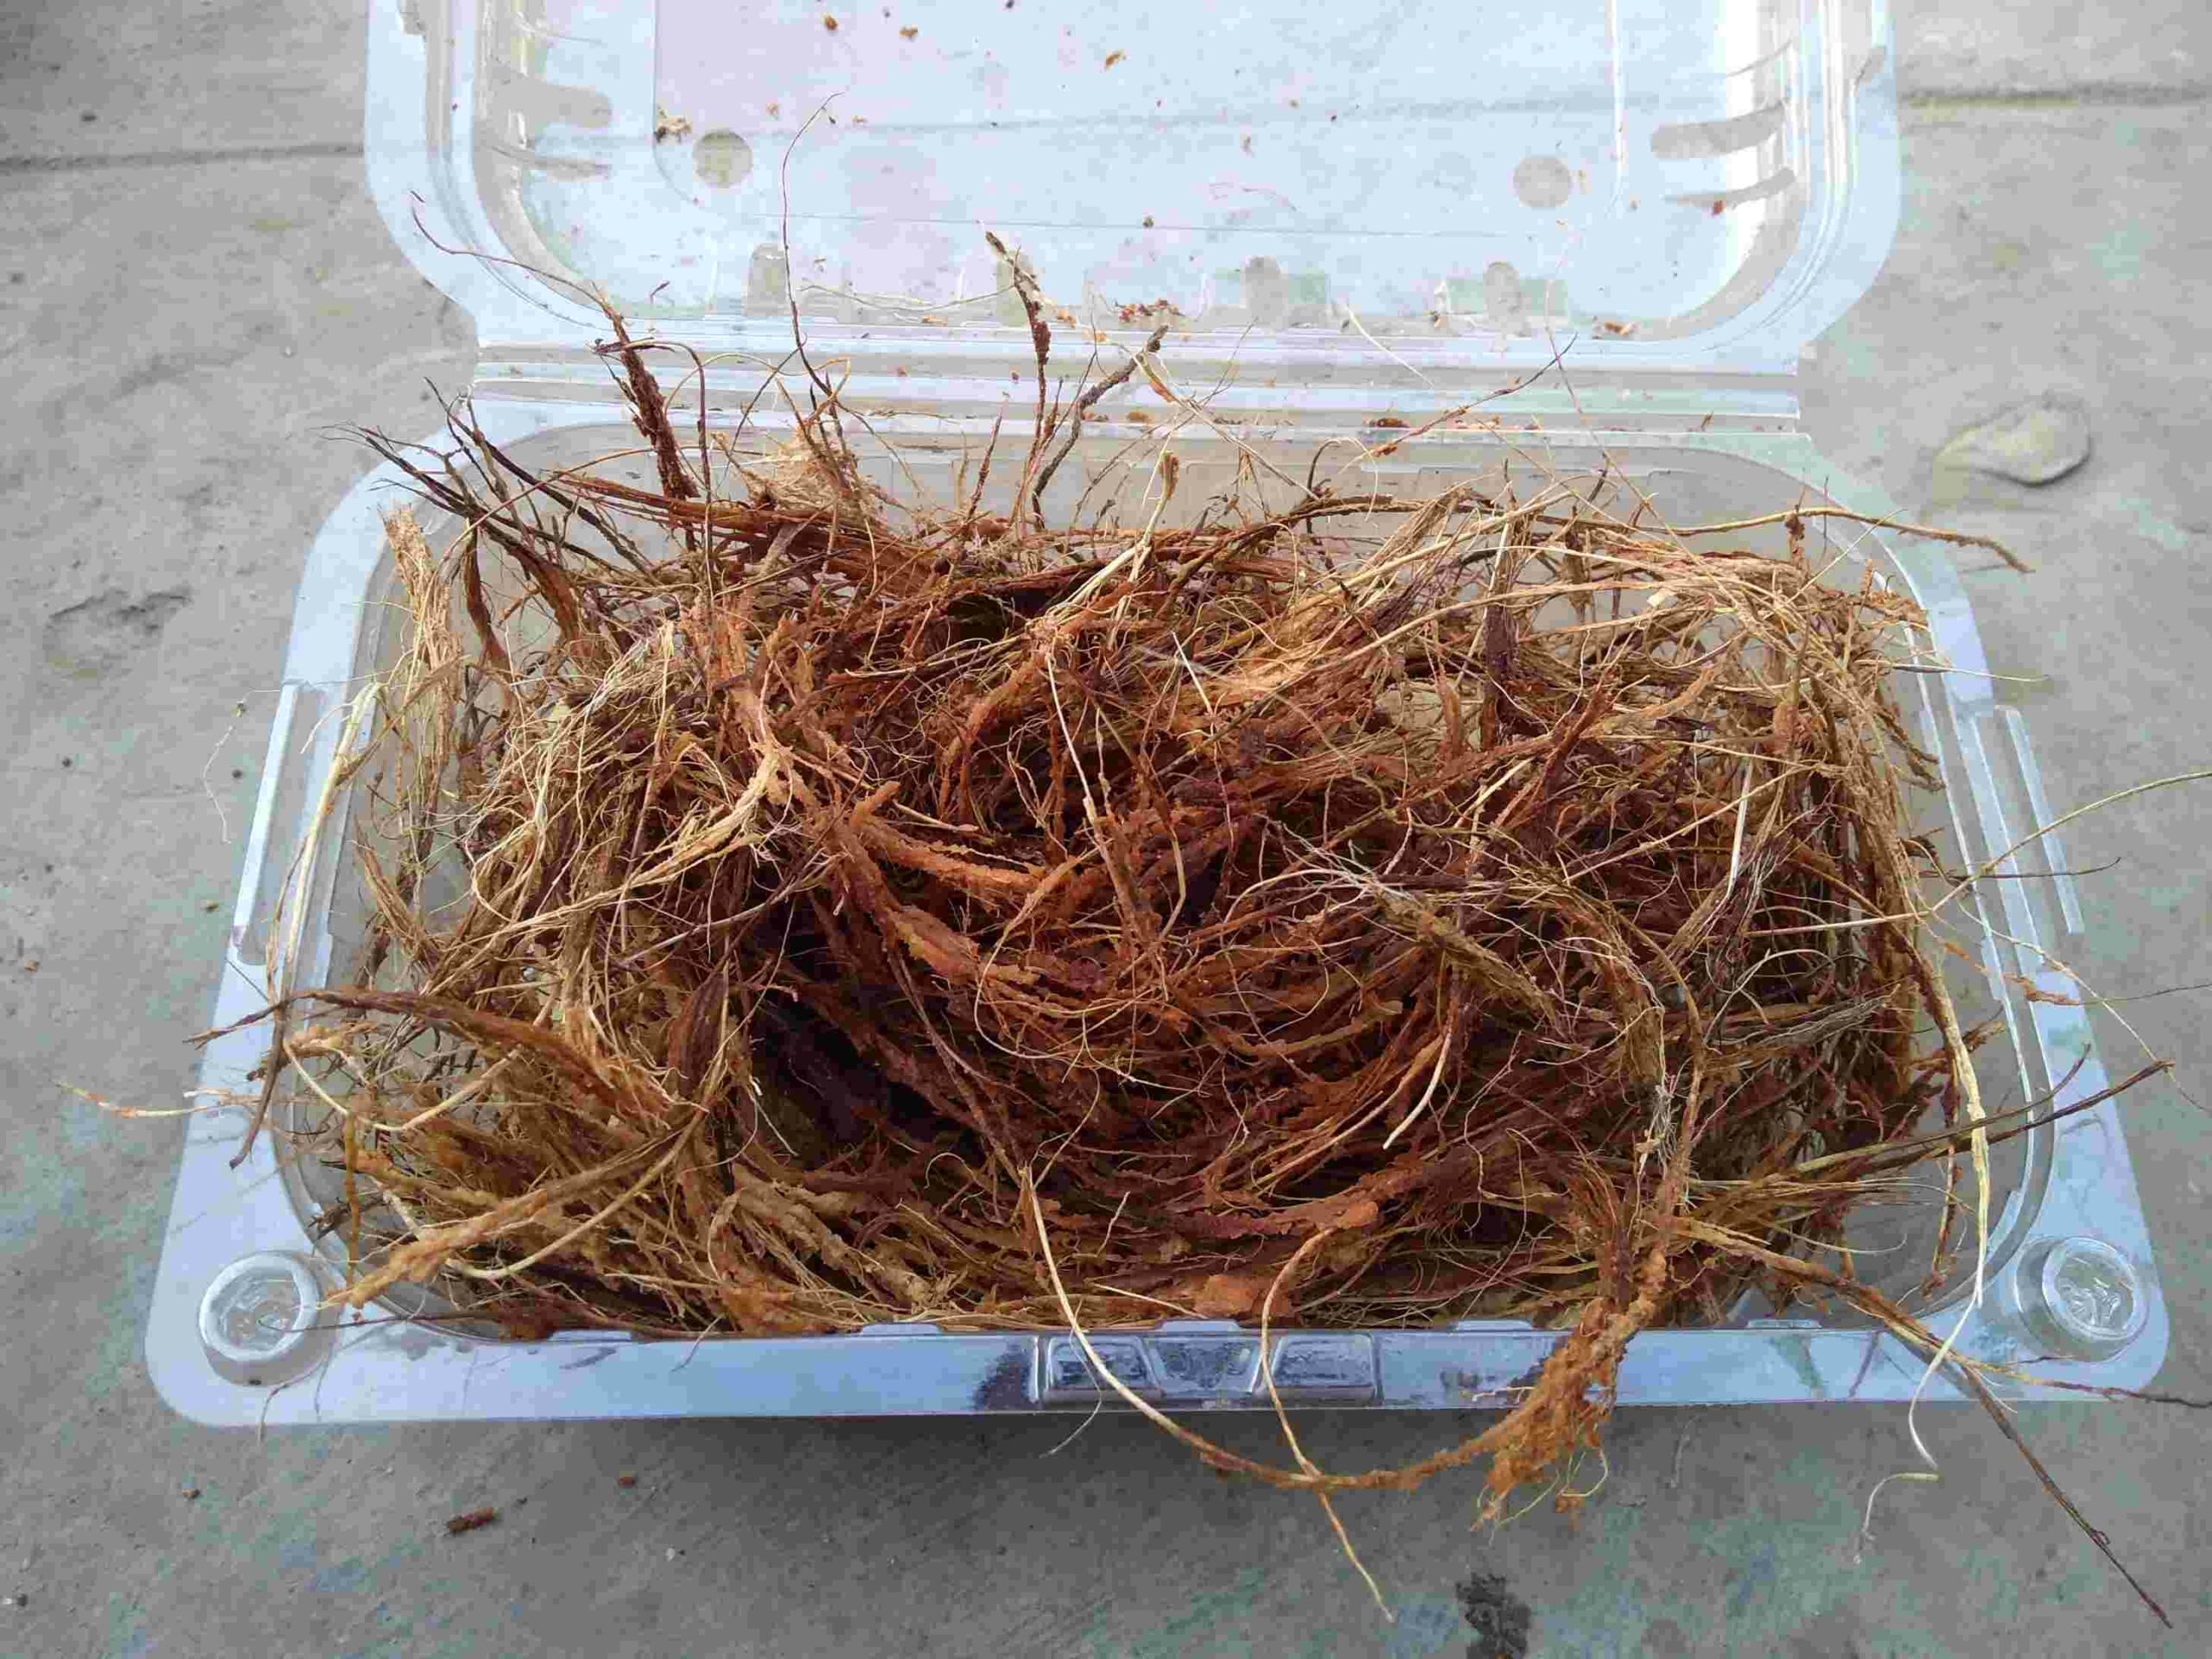
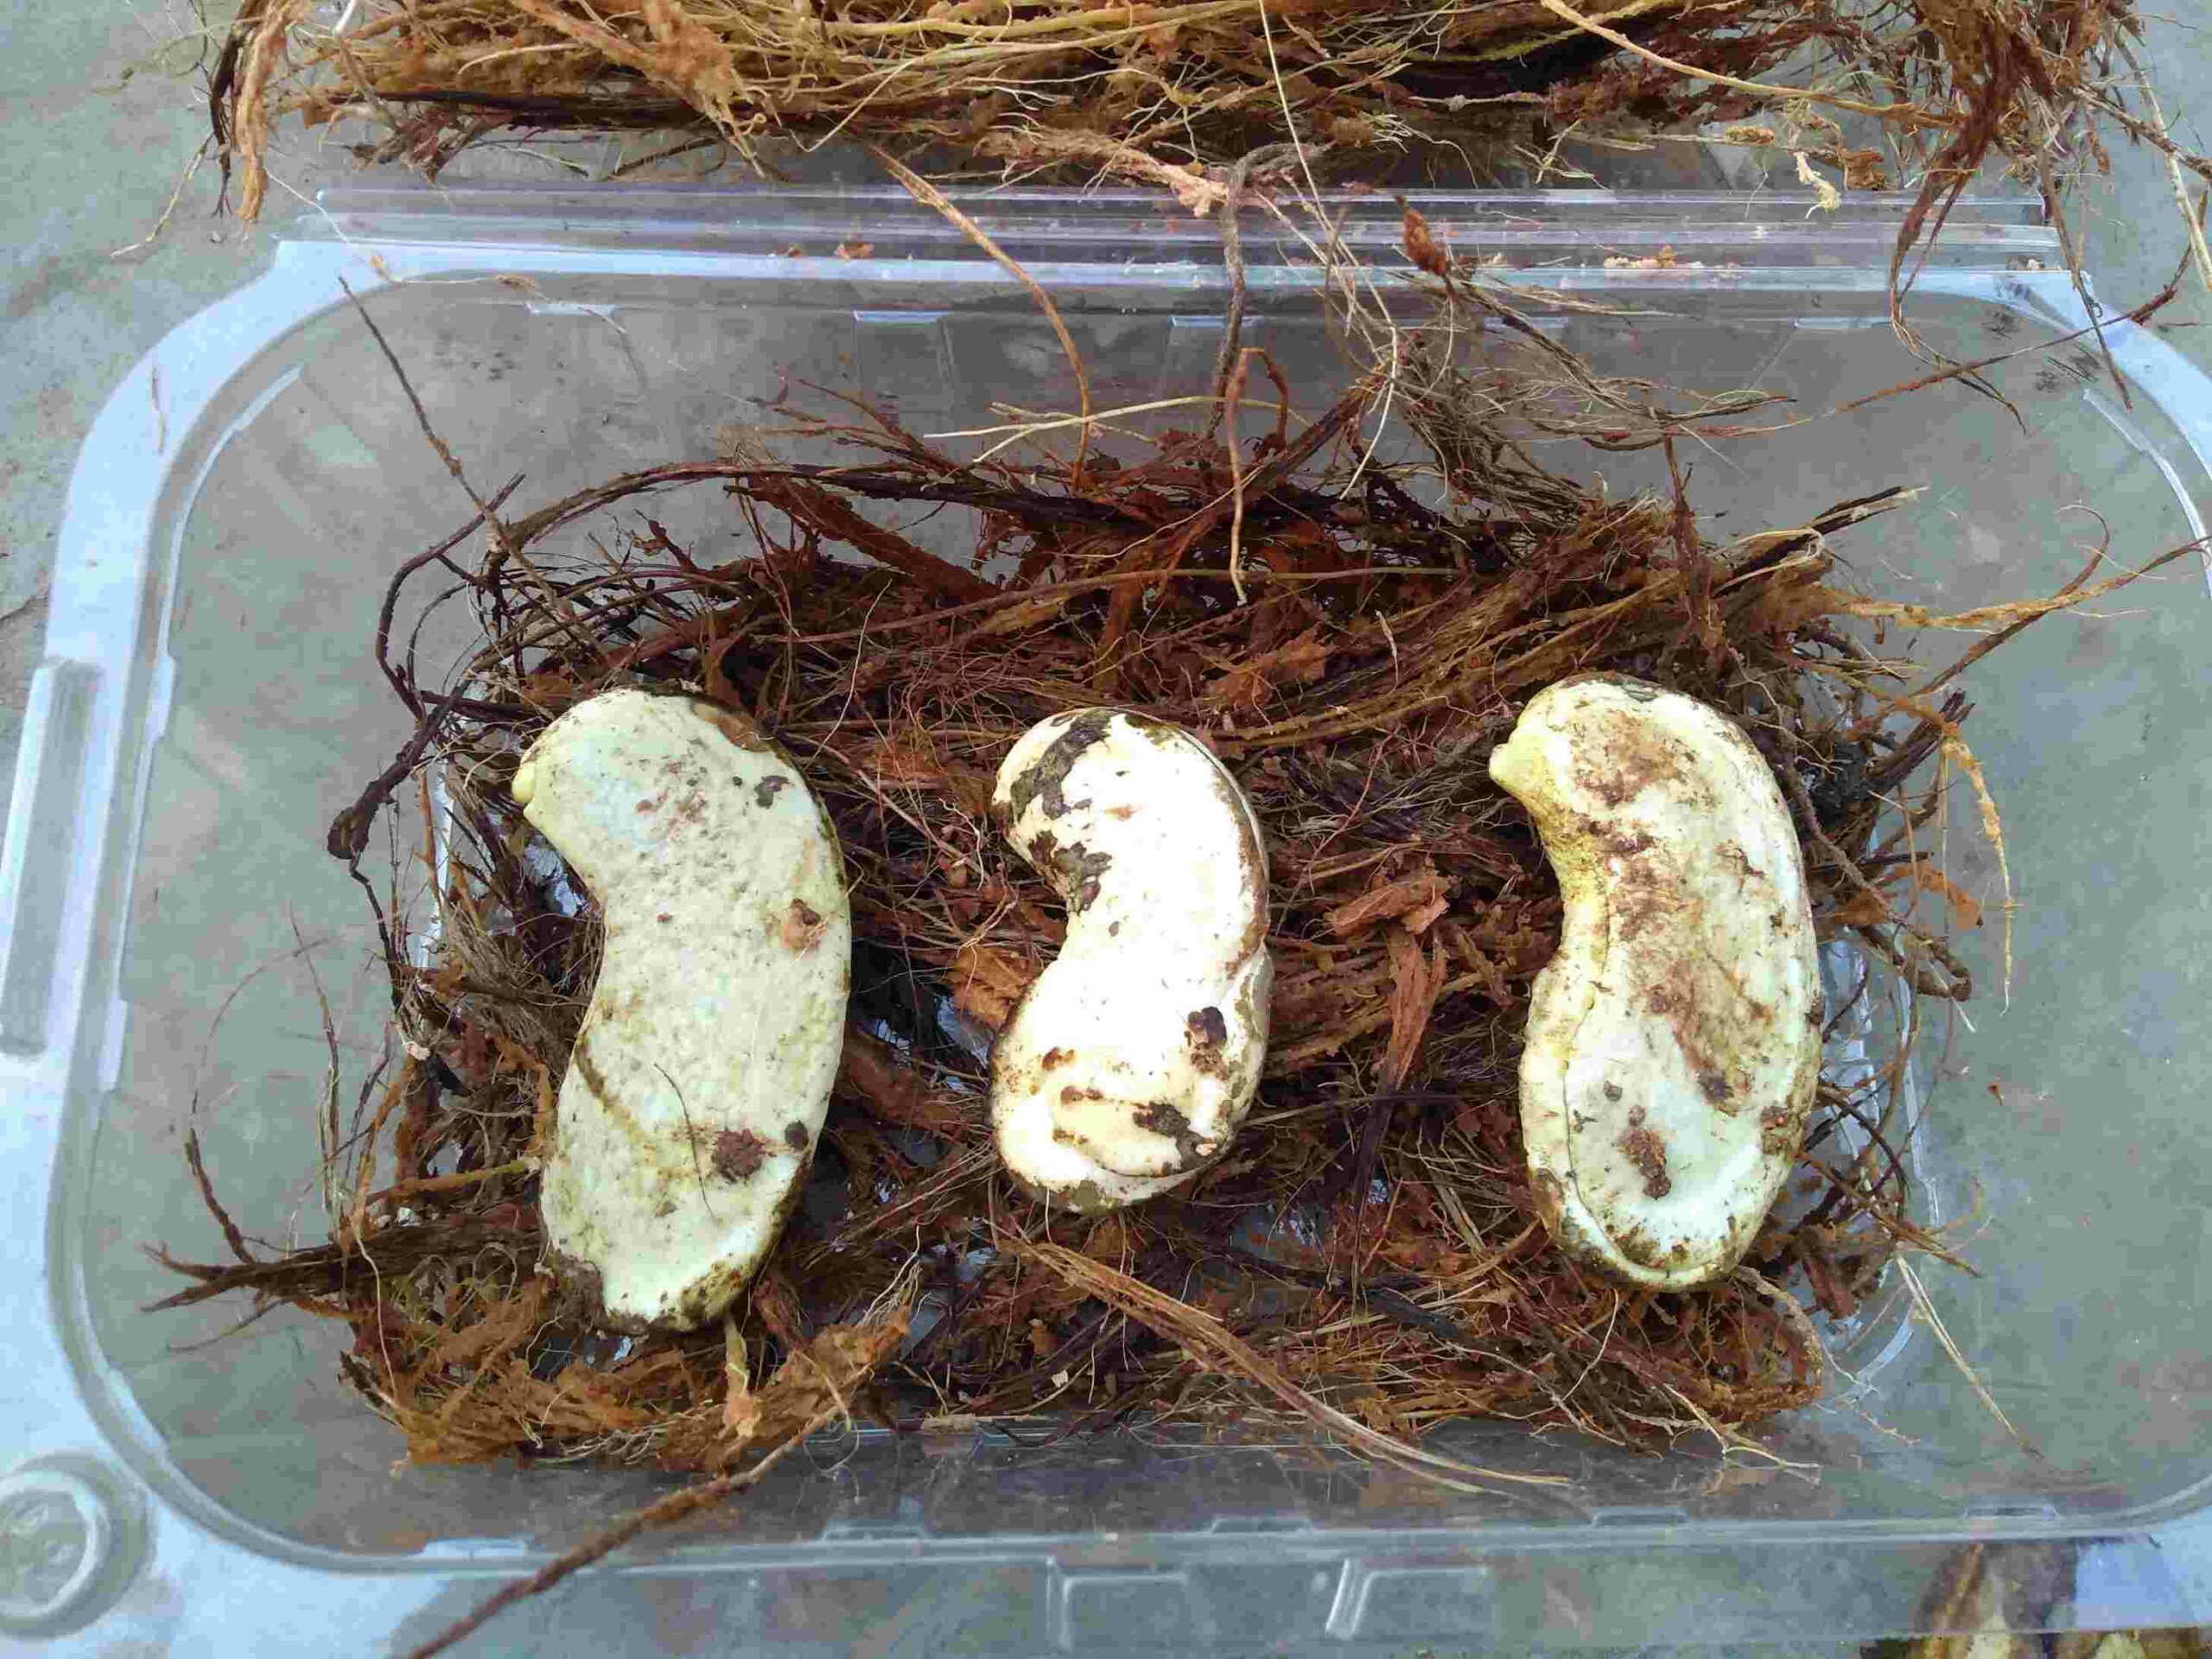
Step 4: In a container with some coconut fiber (coir), place the washed seed and sprinkle water so that the coir absorbs it.
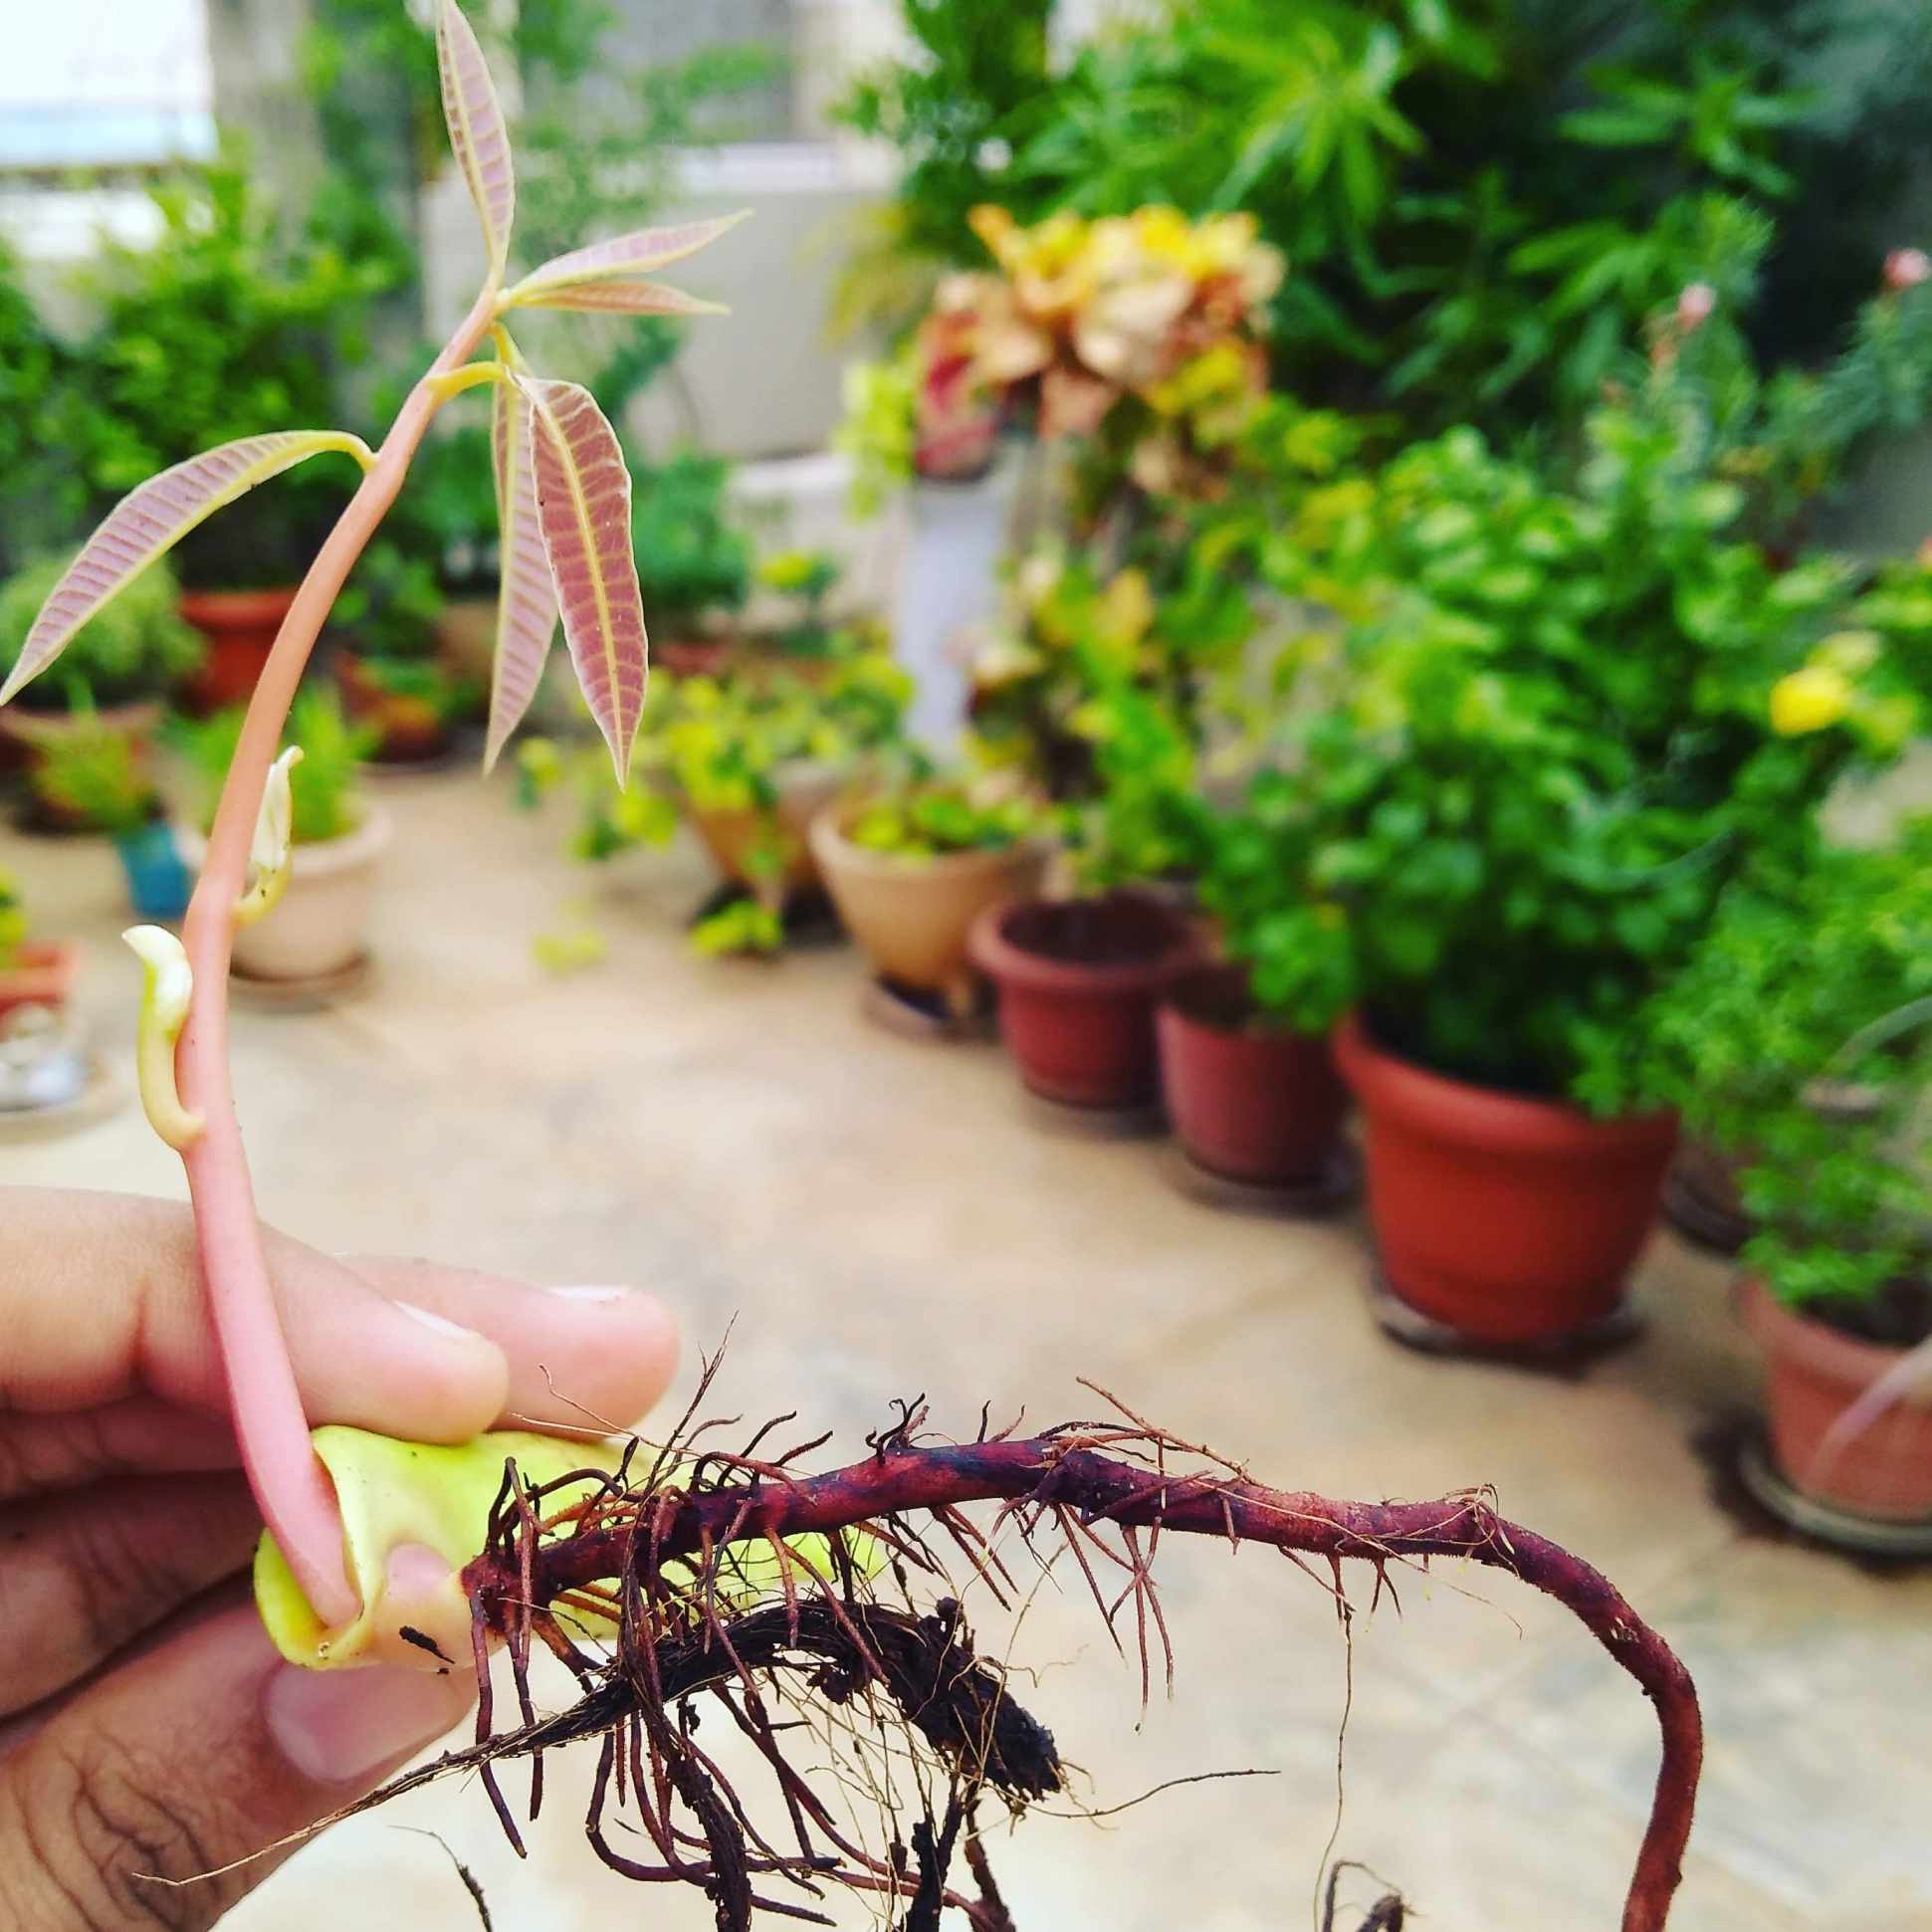
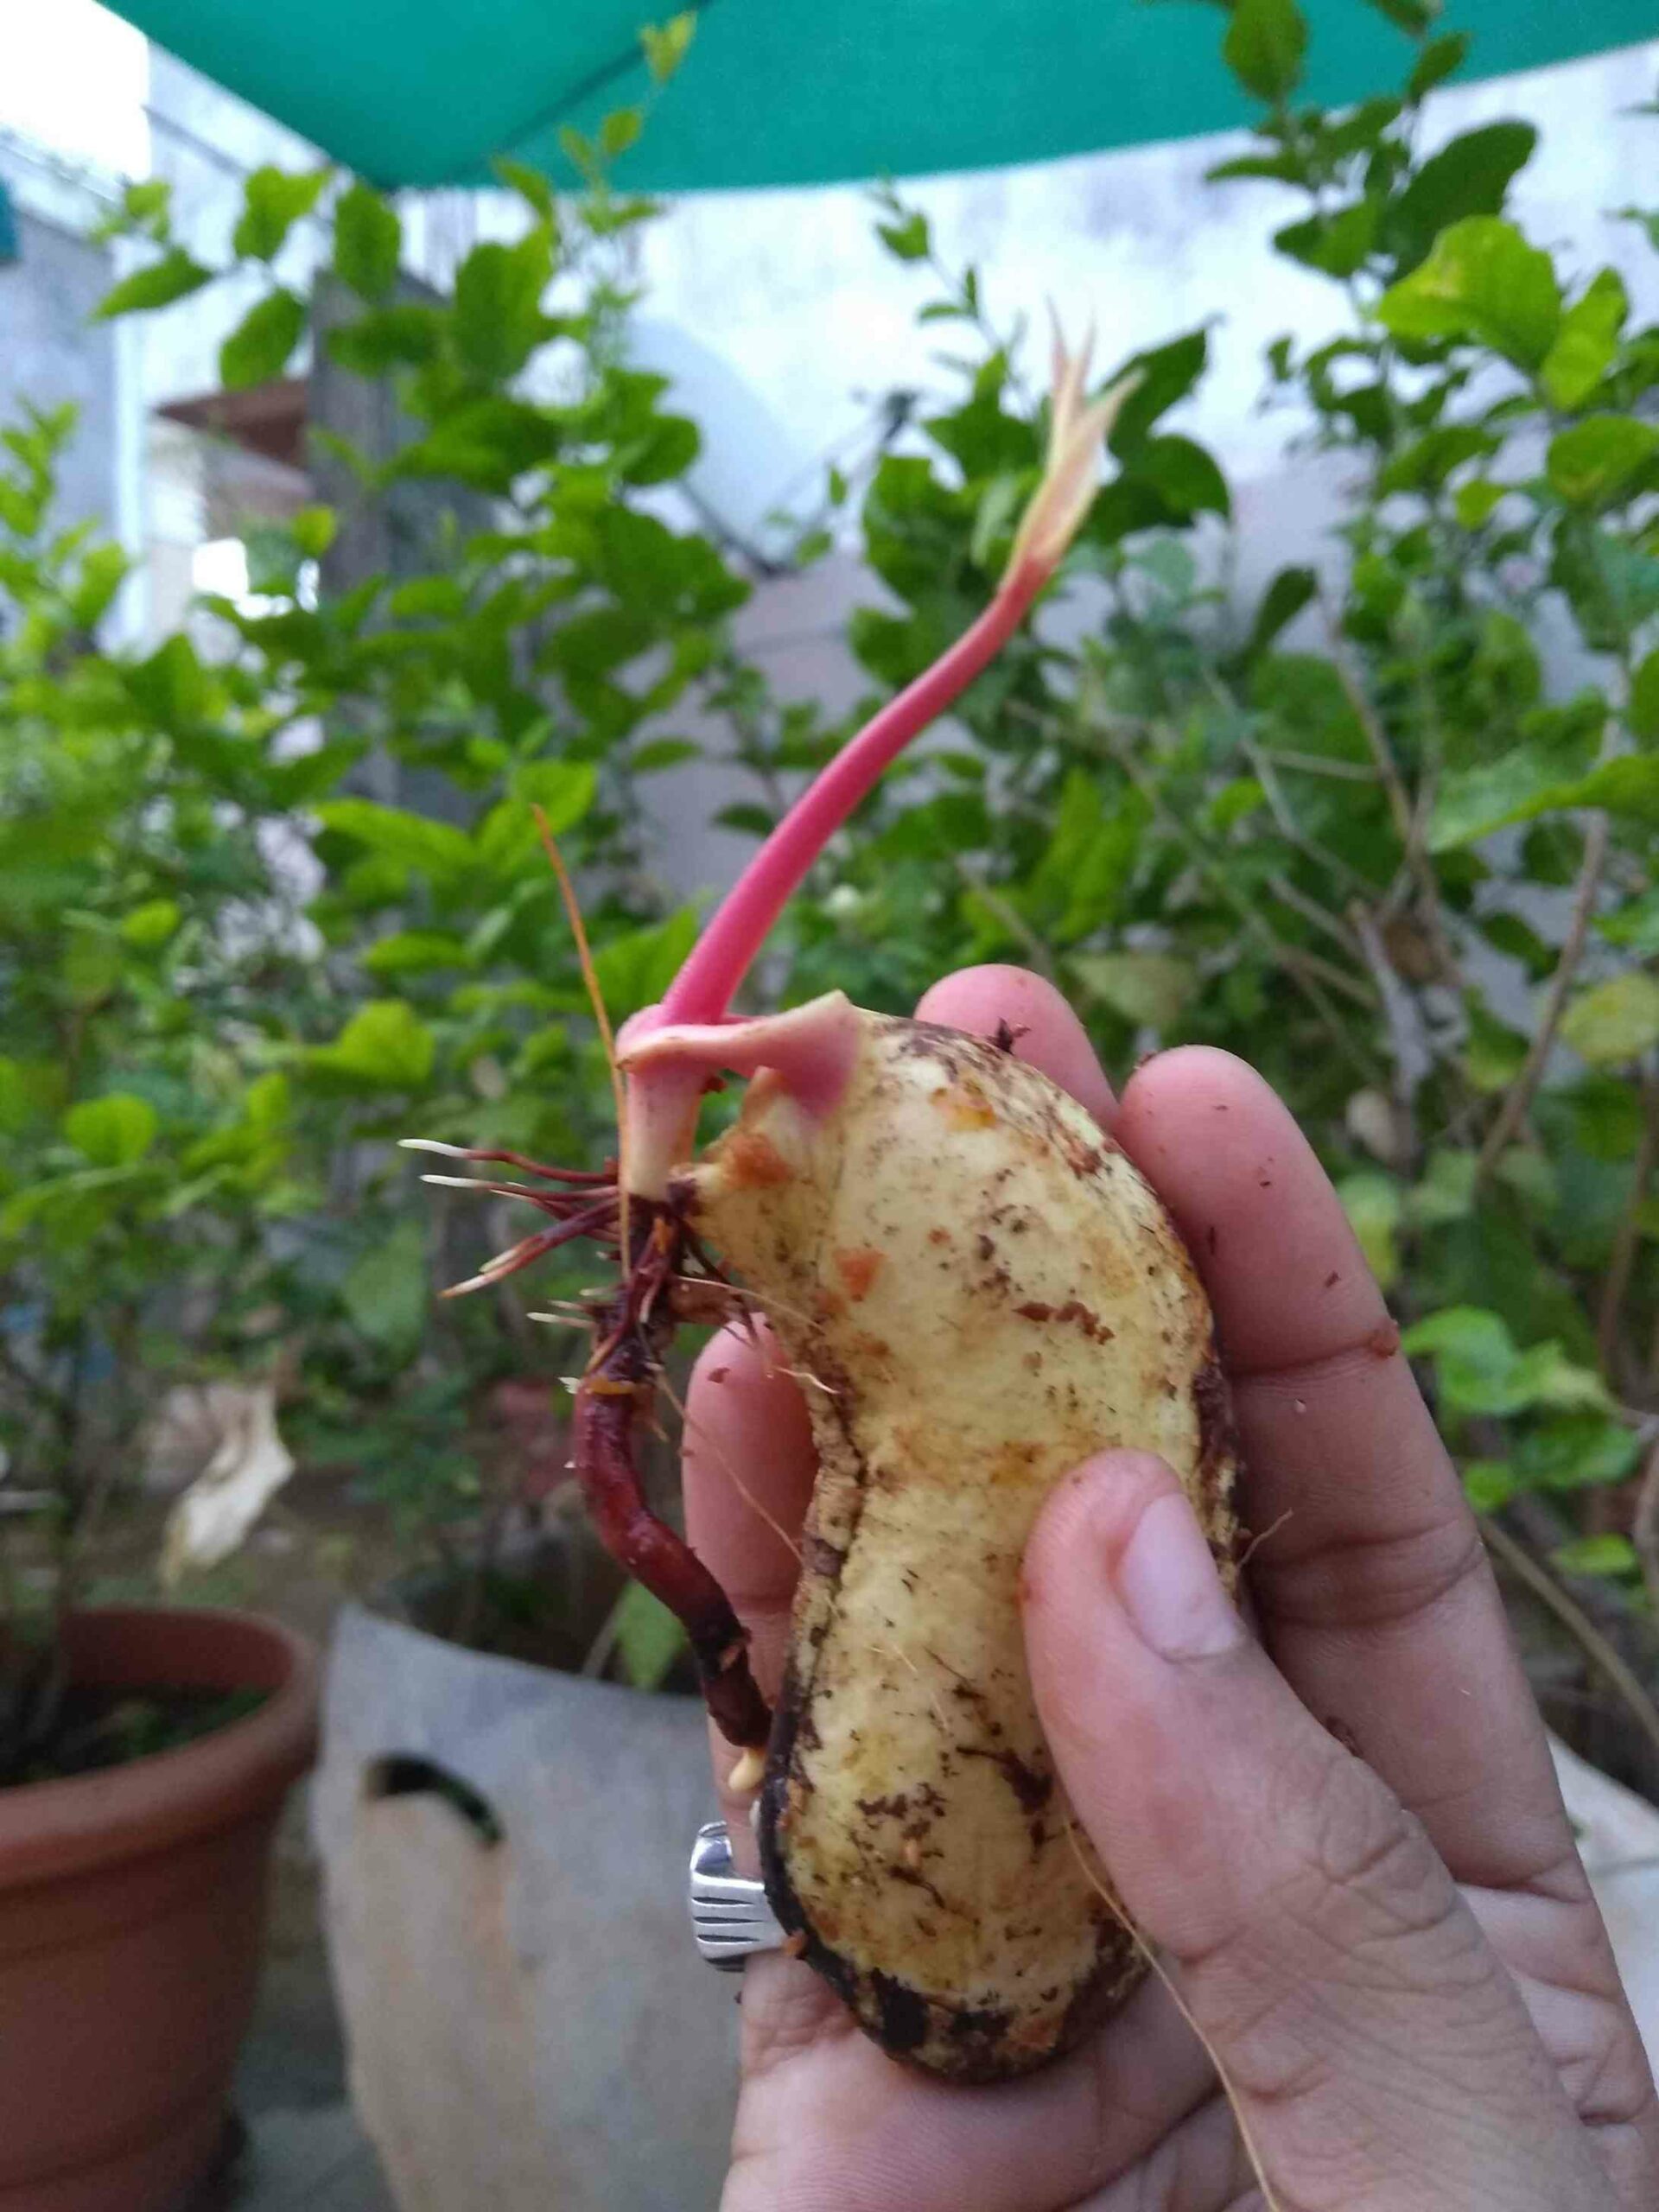
Step 5: Cover the container with a lid and place it in the shade.
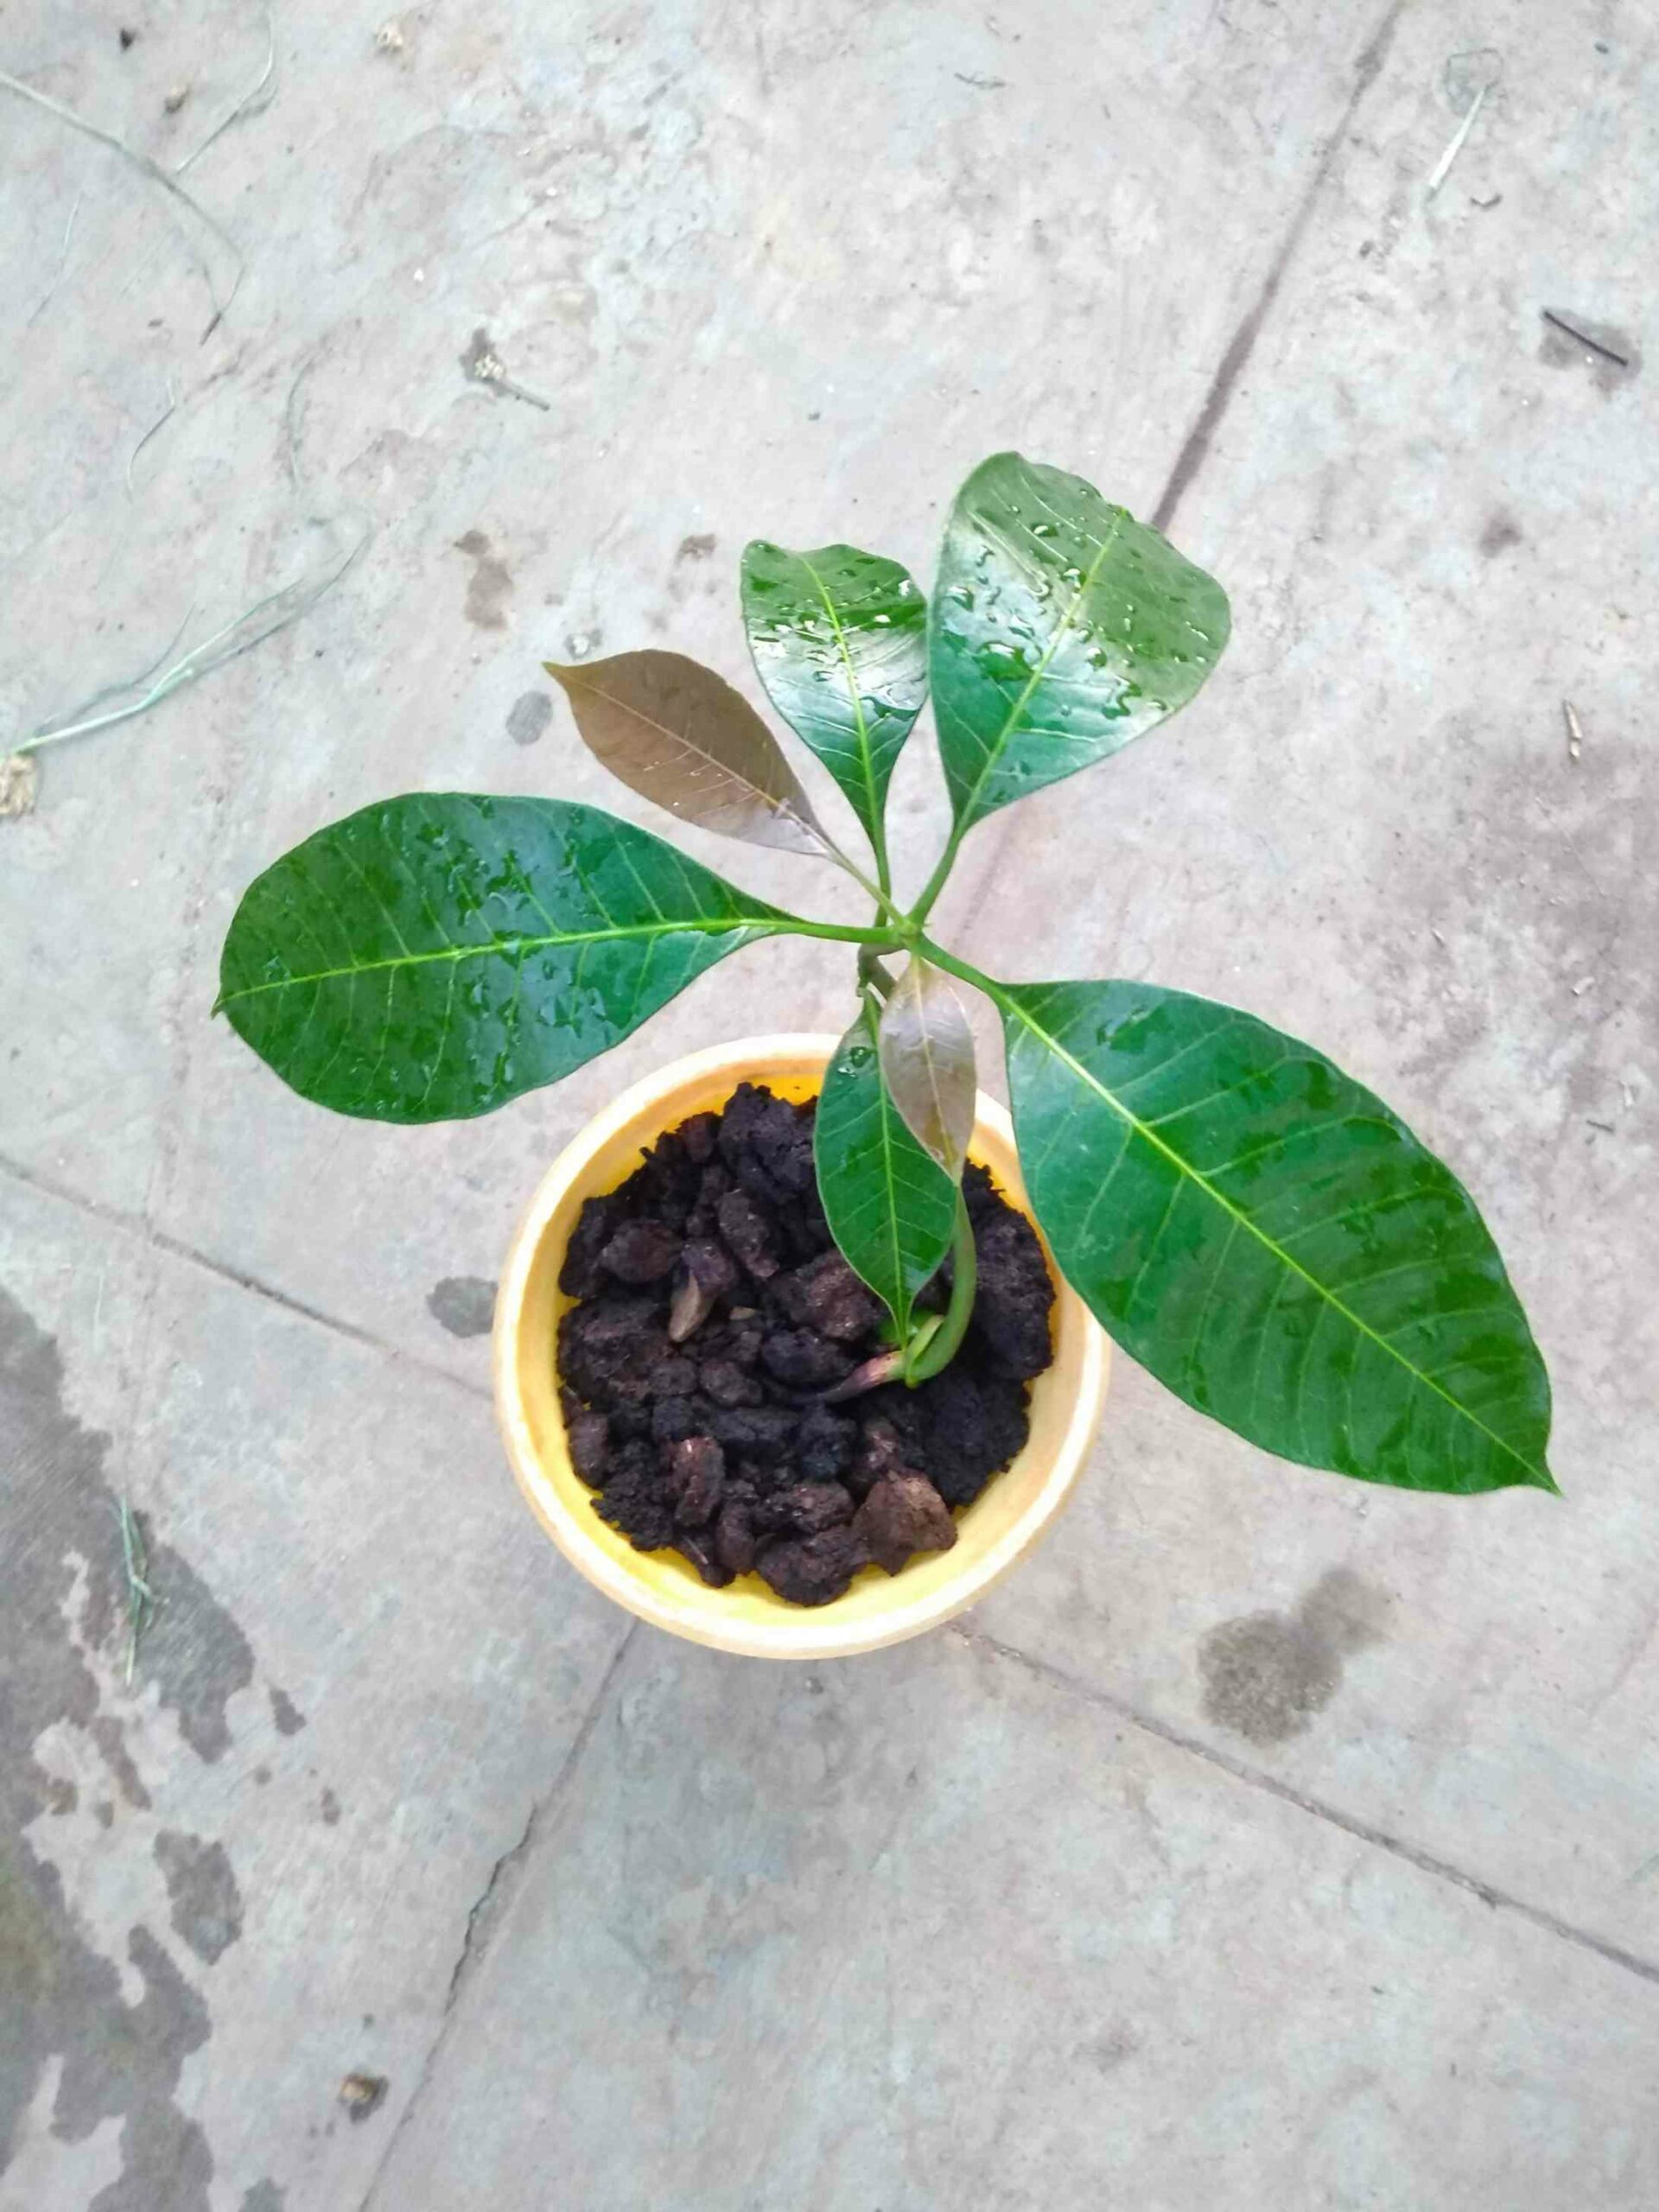
Step 6: Sprinkle some water every few days if the coir is dry. Ensure that the water is just enough to keep the coir moist and there is not too much of it.
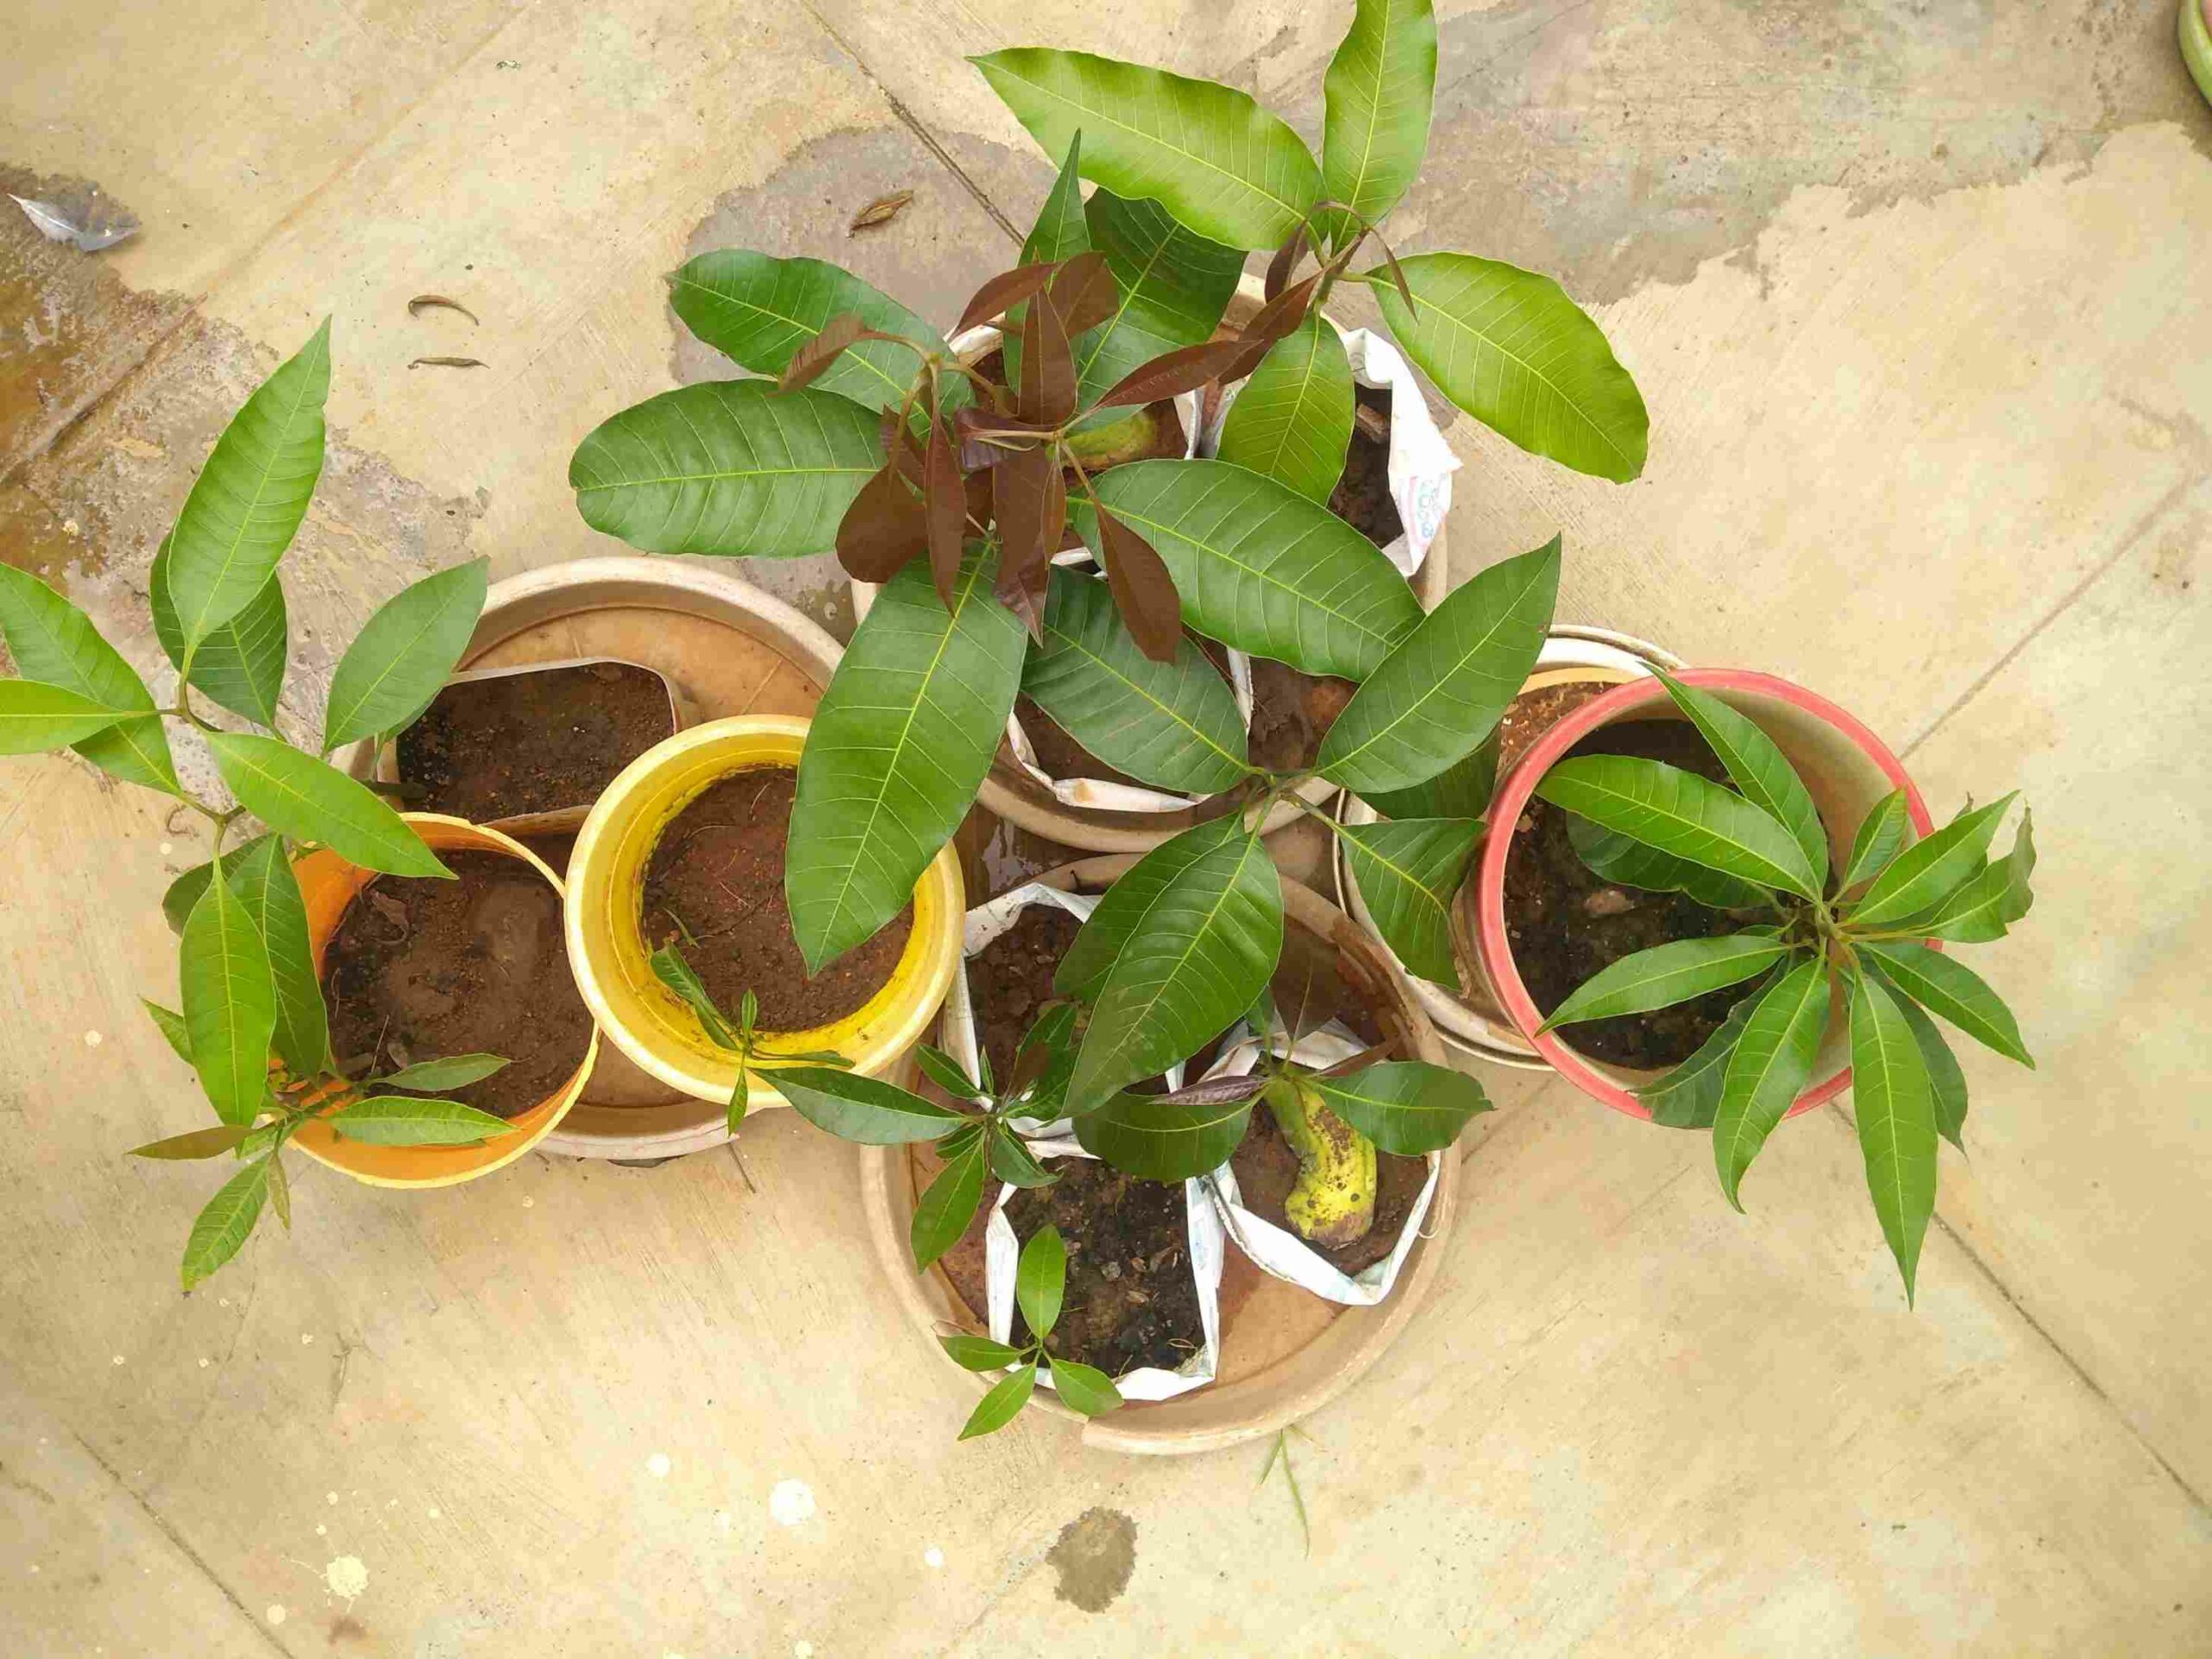
In just a few days, the seed should begin to sprout and in 10 days, the seed should grow inch-long roots with a stem popping out in the other direction. It can then be planted in a small pot and covered with potting mix, and placed in an area with a lot of sunlight to watch it turn green into a healthy sapling.
The germinated mango seeds do not take too long to give their first few leaves after they’re potted, so there is something new to watch out for every week in the garden. The first 30 days of the seed’s journey are a fascination to watch. So, next time before you drop the seed into the bin, think again.
Regarding the skin of the fruit, ever since I began mixing it with a little mud and keeping it in a closed lid, there has been a free supply of nutrient rich compost at home. Moreover, the brownie points for saving it from contributing to the pile of landfill waste is always an added bonus.
(Written by Naina Sarda, Cloud functional Consultant; Edited by Yoshita Rao)
No comments:
Post a Comment