
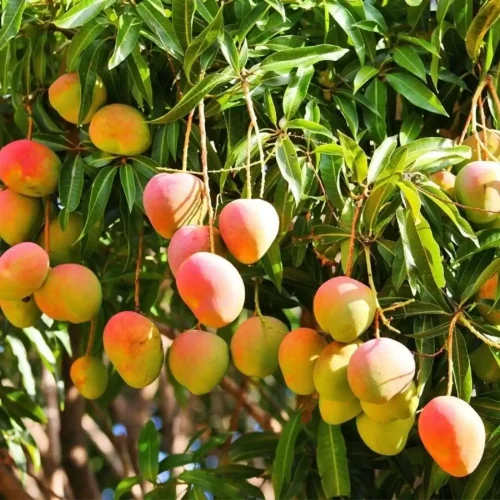
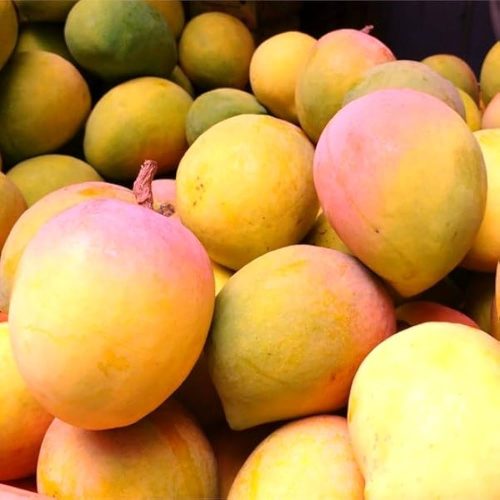
There’s something magical about the arrival of mangoes in Indian markets—the sweet scent, the bright colours, and the promise of summer in every bite. Among them, the Raspuri mango stands tall as a beloved treasure of Karnataka. Known for its rich flavour, juicy pulp, and velvety texture, this mango is more than just a fruit—it’s a celebration of the season. In fact, in Bengaluru and beyond, its arrival signals that summer has officially begun.
But what makes the Raspuri so special? And why does it thrive so beautifully in Karnataka?
The answer lies in the region’s warm climate, fertile soil, and abundant sunshine. Karnataka’s diverse geography—from the Deccan Plateau to its coastal stretches—provides the ideal environment for mango cultivation. The Raspuri mango flourishes in well-drained soil and needs just the right balance of heat and moisture to grow into the luscious fruit people eagerly wait for each year.
And the best part? With a bit of care and patience, you can grow this flavourful mango at home — whether in a garden, on a terrace, or even on a balcony.
Here’s a step-by-step guide to help you get started:
Step 1: Choose the perfect spot
Mango trees, including the Raspuri, love sunlight. Find a sunny spot in your garden, terrace, or balcony where the tree can soak in at least six to eight hours of direct sunlight daily. Good air circulation is also essential to prevent fungal infections.
Step 2: Pick a healthy sapling
Although you can try growing a Raspuri mango from seed, starting with a healthy grafted sapling from a trusted nursery is your best bet. Grafted saplings are generally hardier and fruit earlier, giving you a better chance of success.
Step 3: Prepare the soil
Raspuri mangoes thrive in well-drained, slightly acidic soil. Mix compost or organic matter into the soil to improve fertility. If you’re planting in a container, ensure it’s large enough and has drainage holes. Avoid waterlogged or heavy clay soils, as these can hinder root growth.
Step 4: Plant the sapling
Dig a hole twice the size of the sapling’s root ball. Place the sapling gently into the hole, making sure that the roots are spread out evenly. Cover with soil and water generously. Ensure the root collar is level with the surface of the soil — planting too deep can harm the tree.
Step 5: Water with care
Water thoroughly after planting, but be cautious not to overwater. Mango trees dislike “wet feet”. In the initial months, keep the soil consistently moist to help the roots establish. Once the tree is well-rooted, it becomes more drought-tolerant but still requires regular watering during dry periods.
Step 6: Prune as needed
As your mango tree grows, occasional pruning helps maintain its structure and health. Remove any dead or damaged branches, and trim suckers from the base. This allows the tree to focus its energy on fruit production. Apply a balanced fertiliser during the growing season to encourage robust growth and fruiting.
Step 7: Encourage pollination
Raspuri mangoes are mostly self-pollinating, but having other mango trees nearby can boost fruit production. Grafted saplings usually begin to bear fruit within three to five years, so patience is key. When fruits begin to form, consider using netting to protect them from birds and pests.

Step 8: Harvest the reward
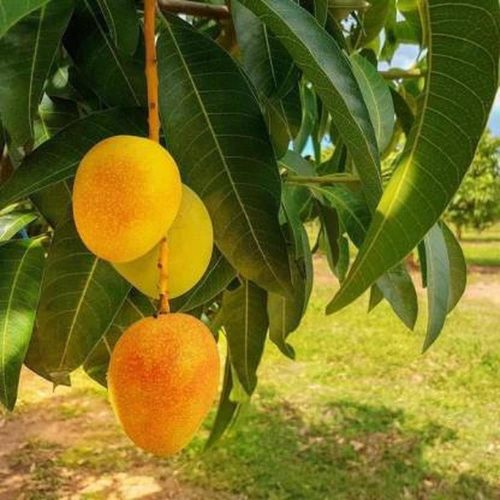
Come summer, your hard work will be rewarded. Raspuri mangoes are typically ready to harvest when they turn a rich golden yellow. Pick them carefully to avoid bruising the skin, and enjoy the joy of savouring mangoes straight from your own homegrown tree.
Edited by Khushi Arora


No comments:
Post a Comment